360iQ’s System Health Notifications feature is designed to alert you of important changes in your system health. These notifications are easy to configure and can save you hours of downtime, increasing your locations’ efficiency.
With 360iQ’s System Health Notifications, you can easily monitor your overall System Health, along with POS Integrations and disks.
Content
In this guide, we will cover the proceeding topics:
System/Camera Offline Notifications
To configure System/Camera Offline notifications, follow these steps:
- Log in to 360iQ: https://app.go360iq.com/.
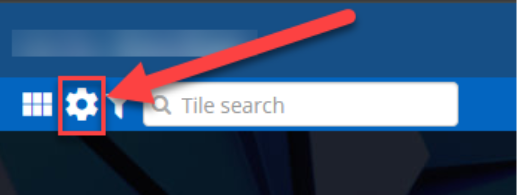
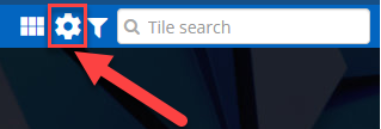
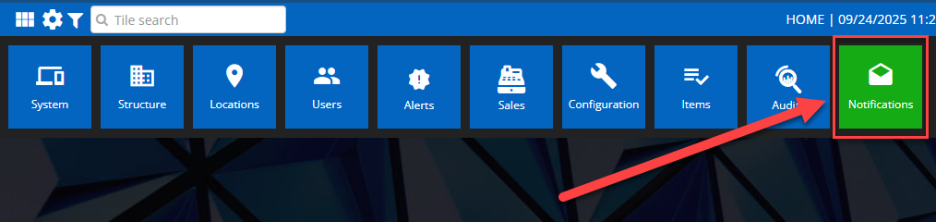
- Click the Settings (gear) icon in the top-left corner of the screen.
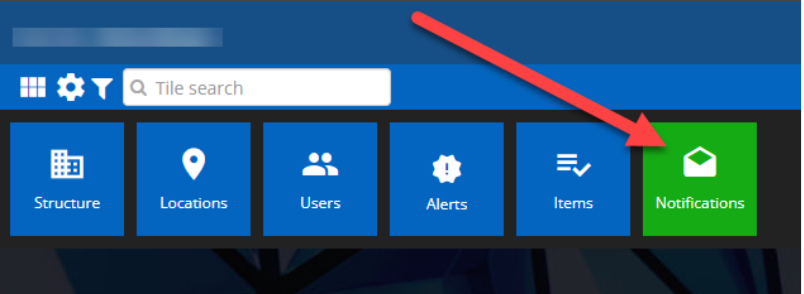
- Click the Notifications tile.
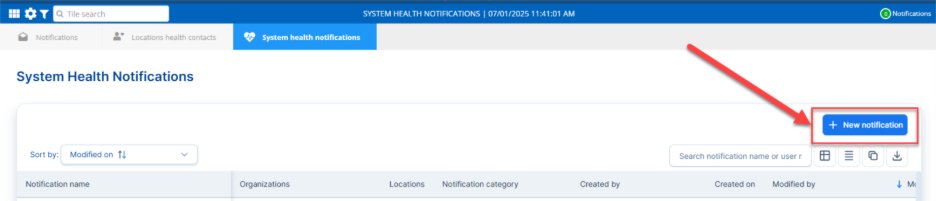
- Click the System Health Notifications tab.

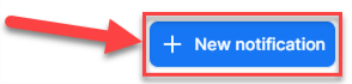
- To create a new notification, click the + New notification button in the top-right corner of the screen.
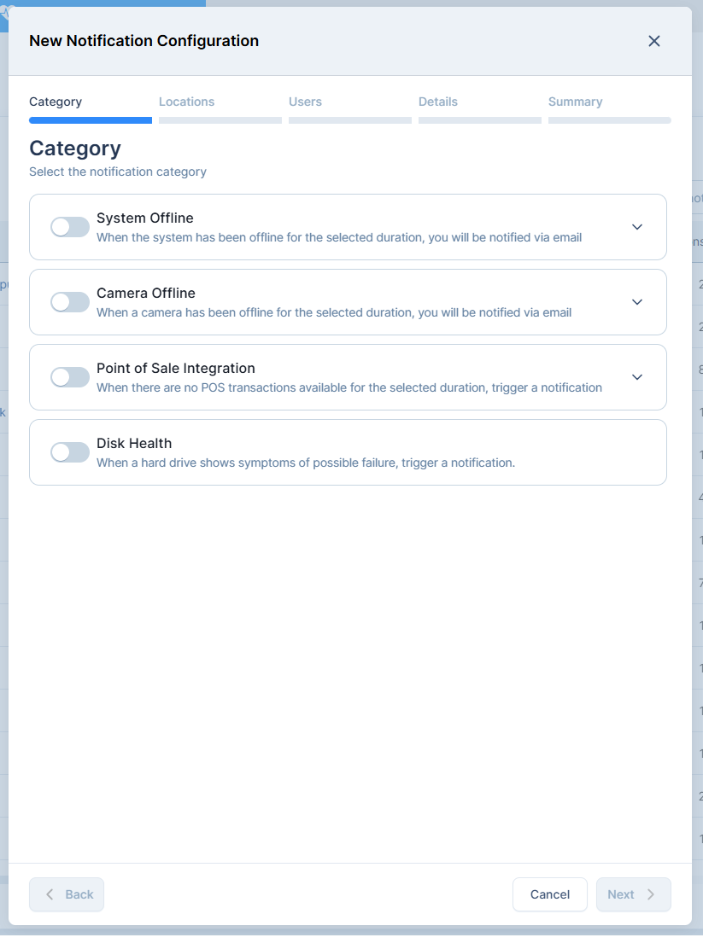
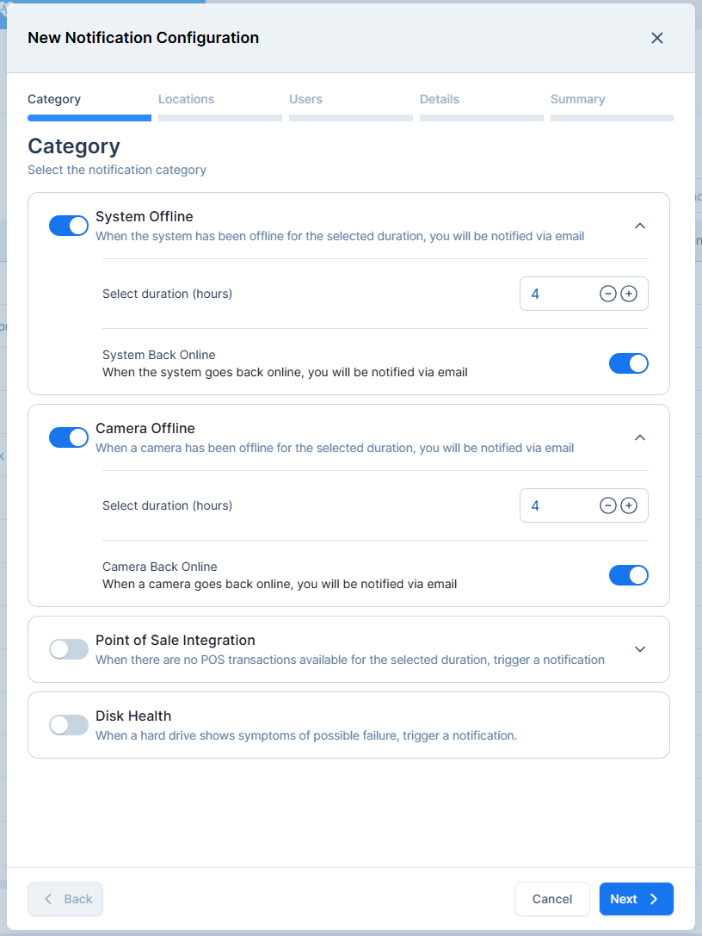
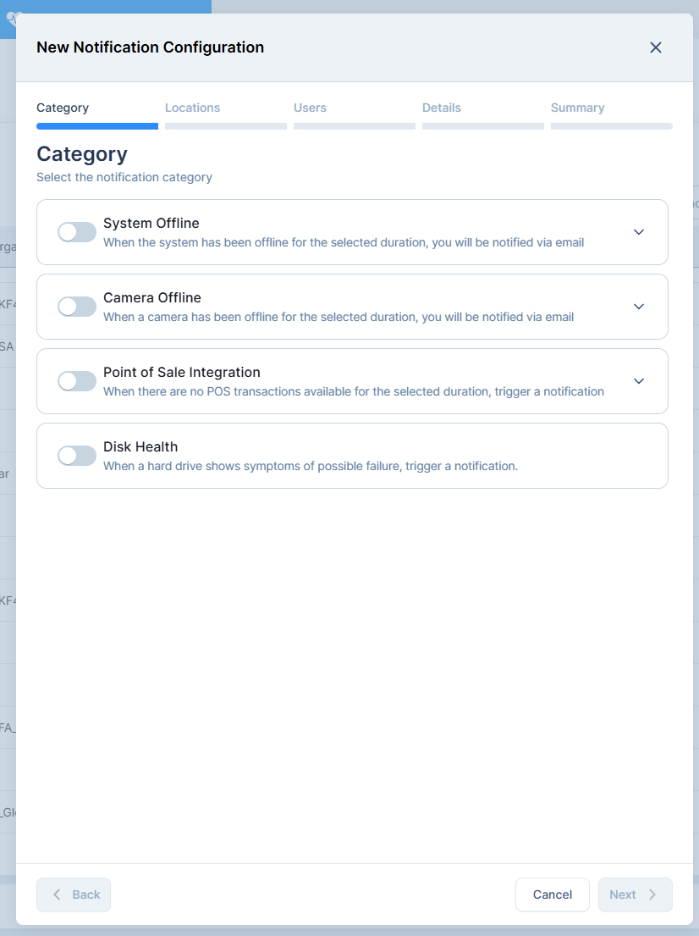
- A menu will pop up. Choose your notification Category from the proceeding options:
- System Offline: When the system has been offline for a selected duration, you will be notified via email and push notifications.
- Camera Offline: When a camera has been offline for a selected duration, you will be notified via email and push notifications.
- Configure the parameters. These include the following:
- Select duration: Select the amount of time for which the system/camera must be offline before an alert is triggered.
- System/Camera Back Online: When a system/camera goes back online, you will be notified via email and push notifications.
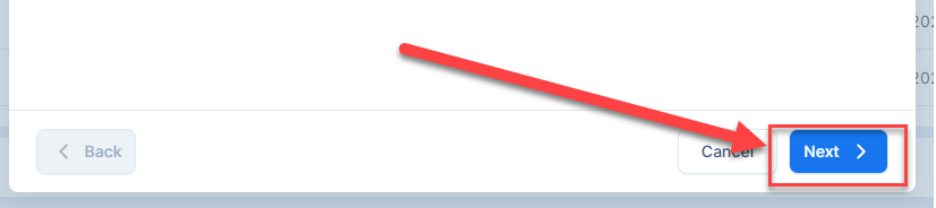
- Click the Next button.

- Select your organization and choose which locations to include in the configuration.
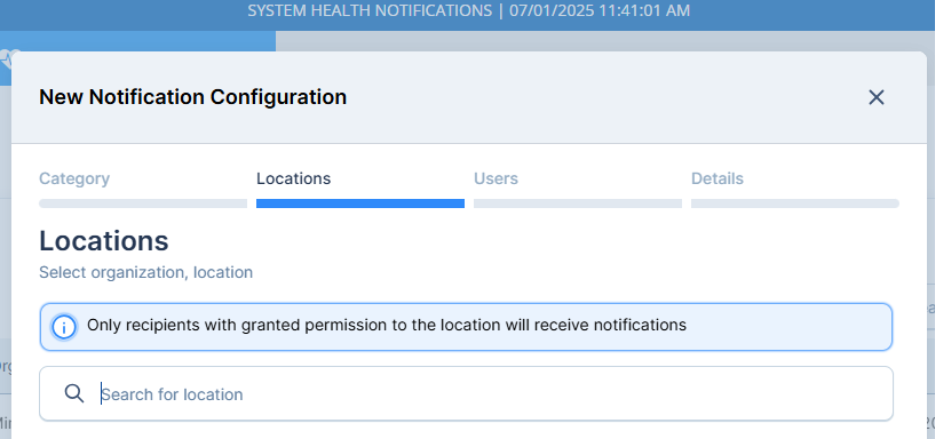
- Click Next to continue.
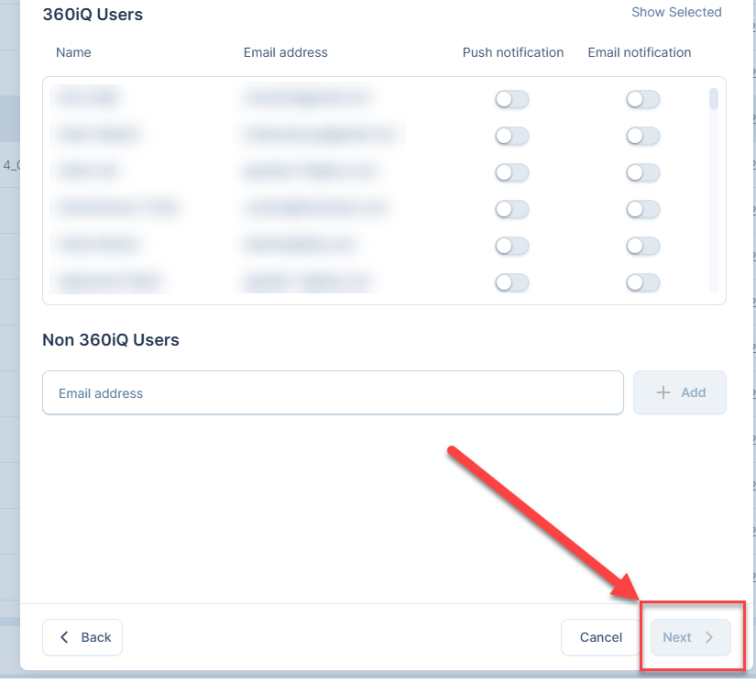
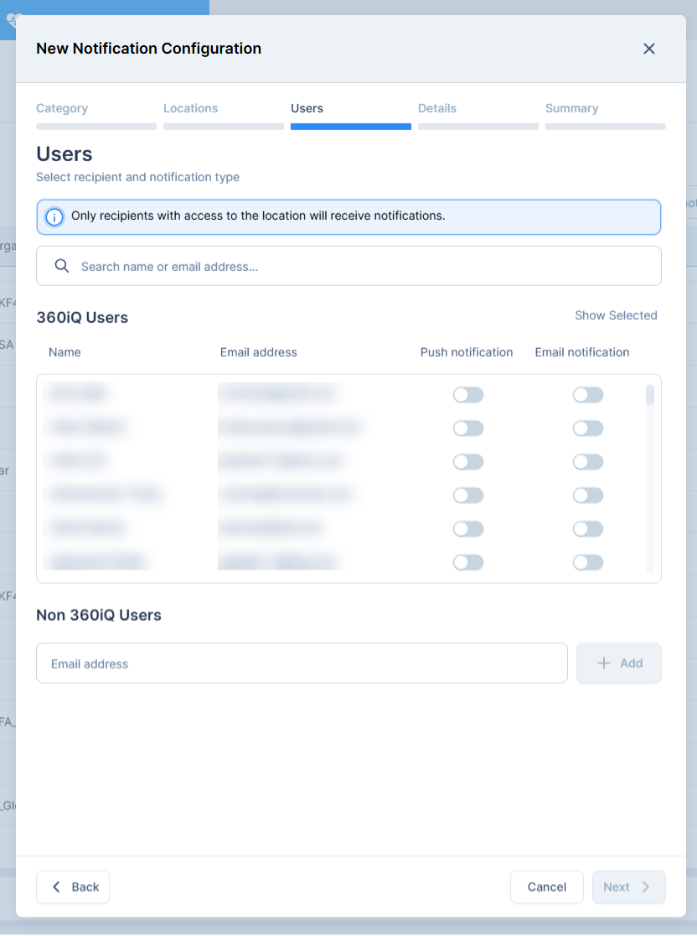
- Select which users to notify. For each user, flip the toggle to configure whether they will receive Push and/or Email notifications. If you would like to add users outside of 360iQ, enter their Email address and click + Add to add them.
Note: Users selection respects 360iQ’s permission structure. Any users who do not have access to a selected location will not receive notifications for that location. This structure does not apply for non-360iQ users.
- Click the Next button.
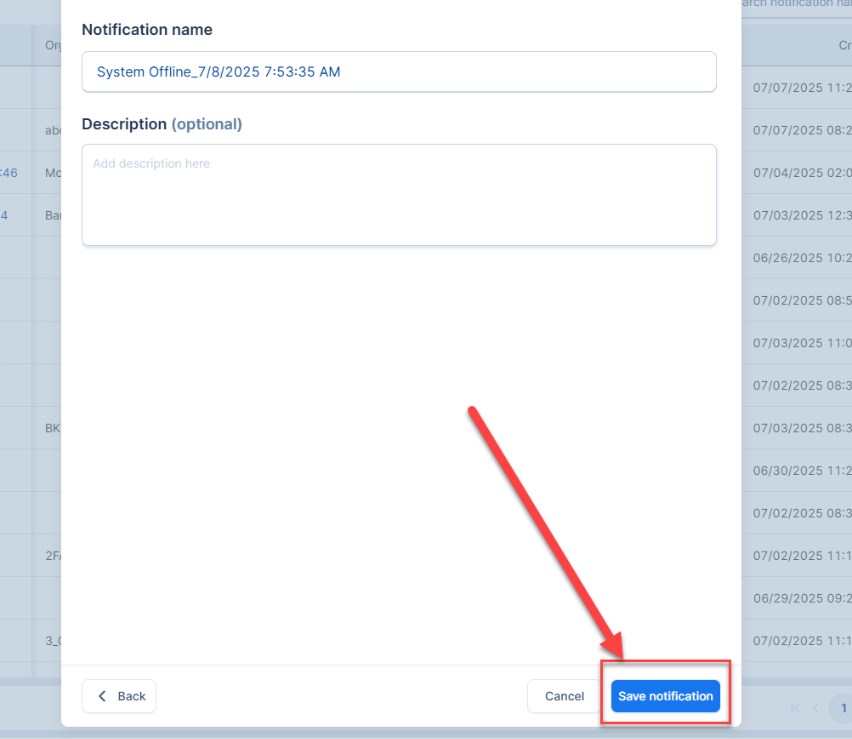
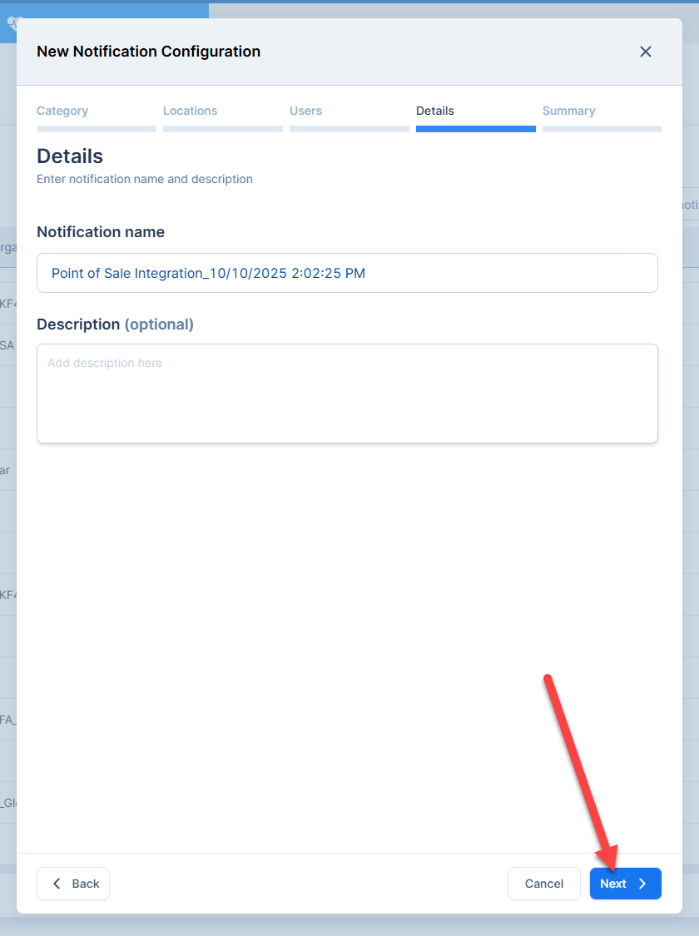
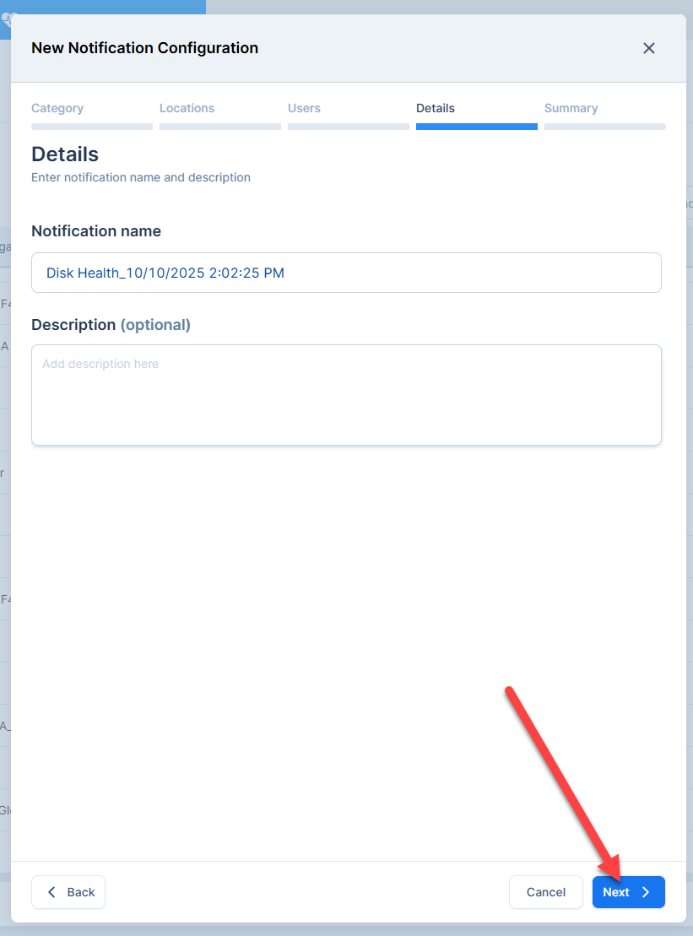
- Configure the notification name and add a description (optional) if desired.

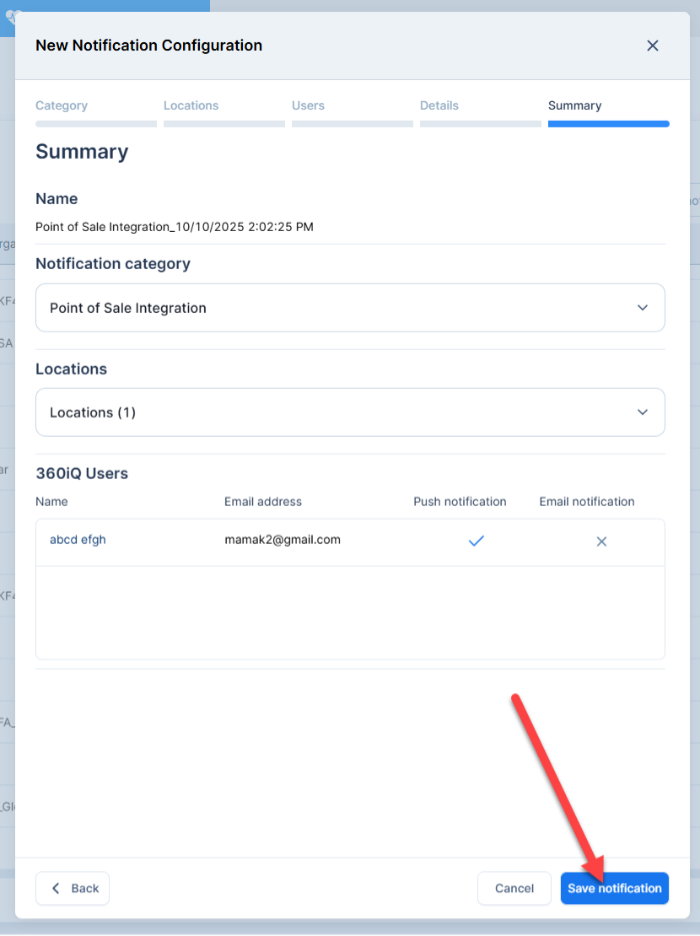
- To finish, click Save notification.
POS Integration Notifications
A POS malfunction in 360iQ occurs when 360iQ stops receiving POS data. When a malfunction happens, you can configure System Health notifications to alert you when a POS goes offline for a selected duration.
To configure these notifications, proceed as follows:
- From the Home Screen or Quick bar, click the Settings icon.

- Click the Notifications tile.

- Click the System health notifications tab.

- To configure a new notification, click the blue + New notification button.
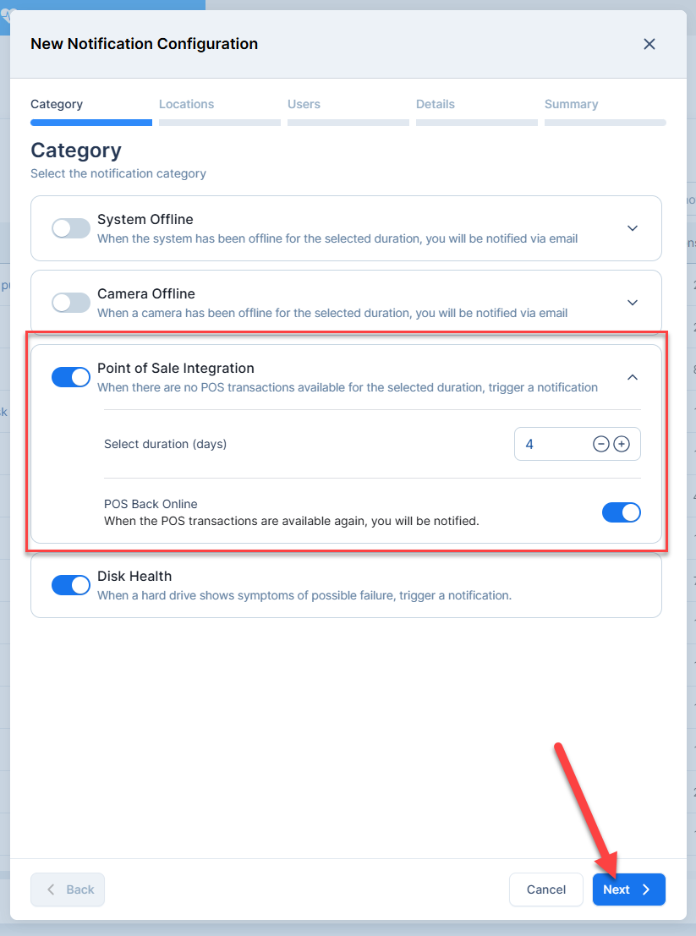
- A modal will pop up. Start by selecting the notification category (POS Offline). A notification will be triggered when no POS transactions are available for the selected duration.
Select your duration (in days).
To receive a notification when POS transactions are available again, flip the toggle beside POS Back Online. Then, click Next.
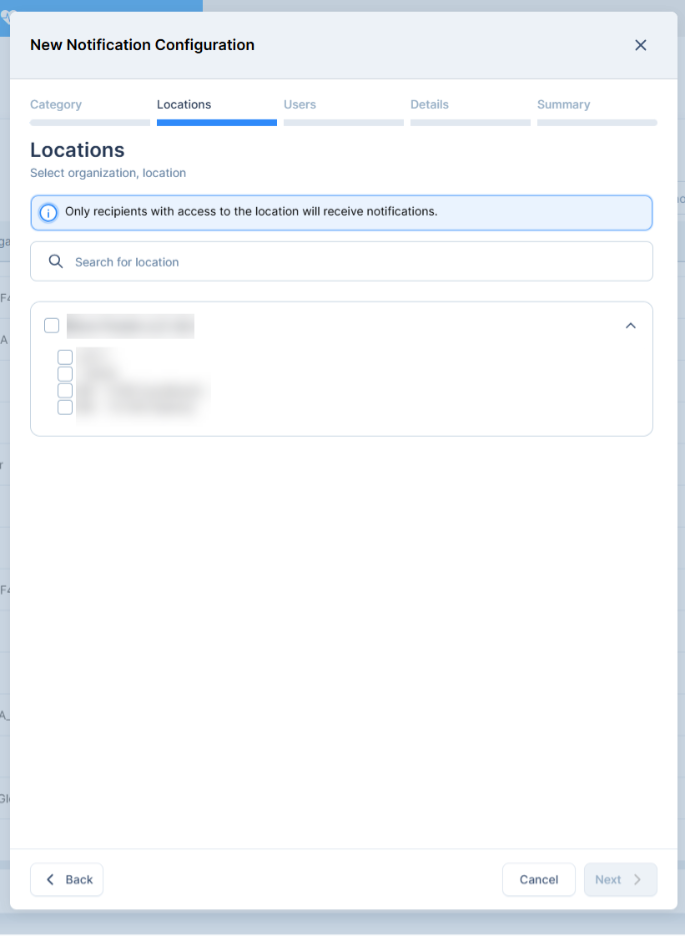
- Select your desired Locations. Note: Only recipients with access to the location will receive notifications. Then, click Next.

- Choose which Users will be notified and which notification type to use for each user. Note: Only recipients with access to the location will receive notifications. Then, click Next.
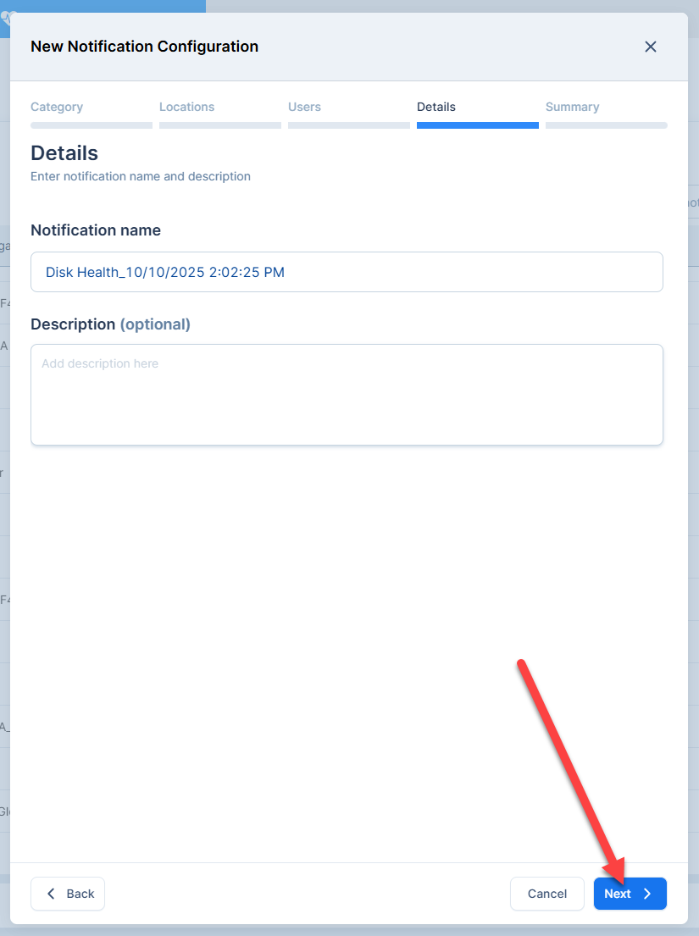
- In the Details section, enter a name and a description for the notification. Then, click Next.
- Review the Summary. Once you are satisfied with your choices, click Save notification.
- You will now be notified according to the parameters of the notification you created.
Disk Health Notifications
You can also configure System Health Notifications to alert you when your hard drive health declines.
To configure notifications for declining disk health, proceed as follows:
- From the Home Screen or Quick bar, click the Settings icon.
- Click the Notifications tile.
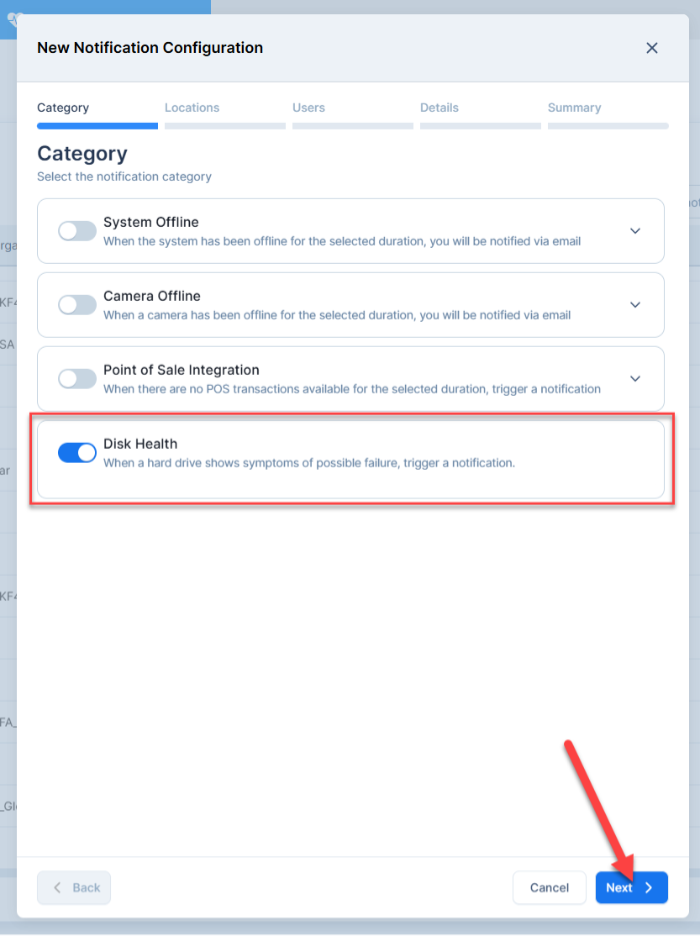
- To configure a new notification, click the blue + New notification button.

- A modal will pop up. Start by selecting the notification category (HDD Health). A notification will be triggered when one of the hard drives shows symptoms of possible failure. Then, click Next.
- Next, select your Locations. Then, click Next.
- Select the Users who will be alerted when the hard disk health declines. Note: Only recipients with granted permission to the location will receive notifications. Then, click Next.

- In the Details section, enter a name and a description for the notification. Then, click Next.
- Review the Summary. Once you are satisfied with your choices, click Save notification.
- You will now be notified according to the parameters of the notification you created.
How to Edit/Delete Configured Alerts
To edit or delete a previously configured system or camera alert, take these steps:
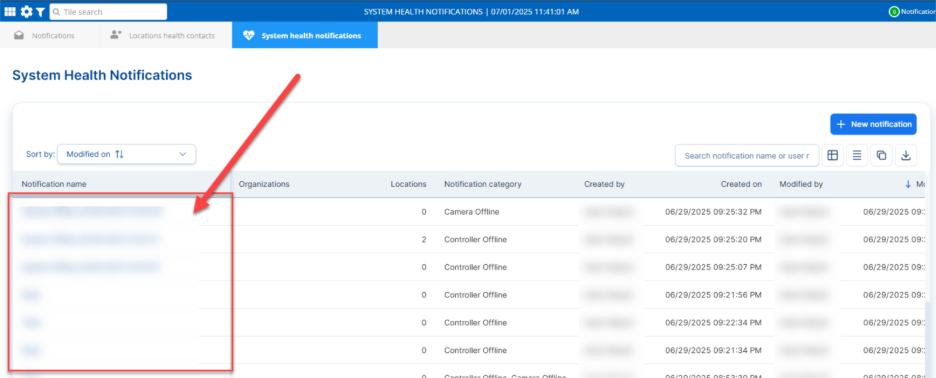
- Select your desired notification from the table and click the name.
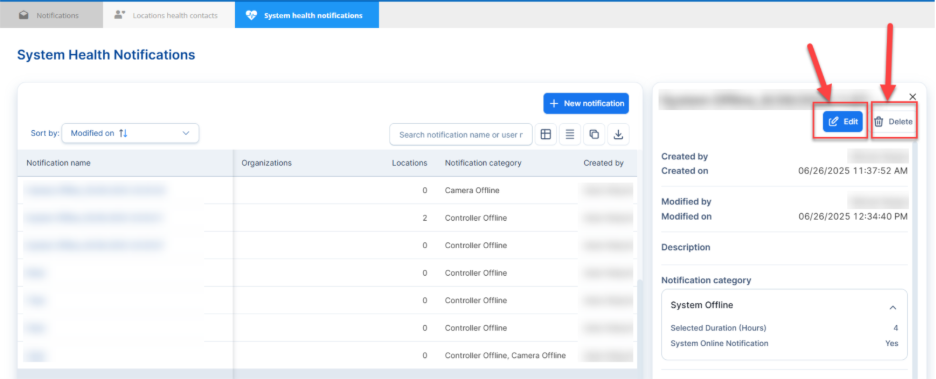
- A side panel will pop up. To edit the notification, click the Edit button. To delete it, click Delete.
For additional information or questions, please contact Support at support@dtiq.com or your Customer Experience Team at csr@dtiq.com.