With 360iQ’s Auto-Delivery feature, you can easily schedule reports to be emailed to you and your team members at selected intervals. In 360iQ, a standard report can be scheduled for delivery without the need to share it with other members of your team. You only need to share auto-delivered custom reports.
Content
In this article, you will learn the following:
How to Set Up Auto-Delivery
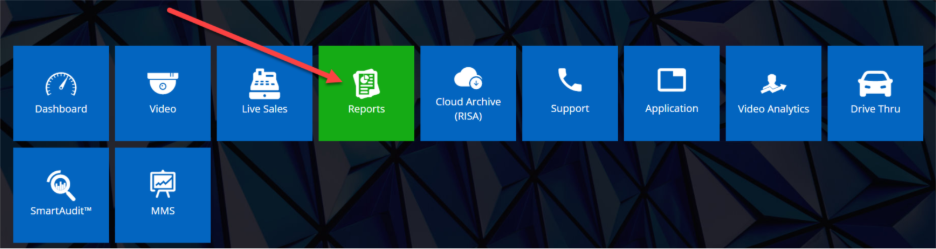
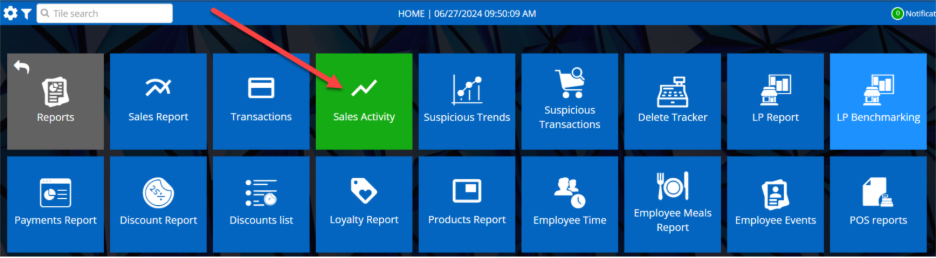
To get started, navigate to the Reports tile, then click any existing report.
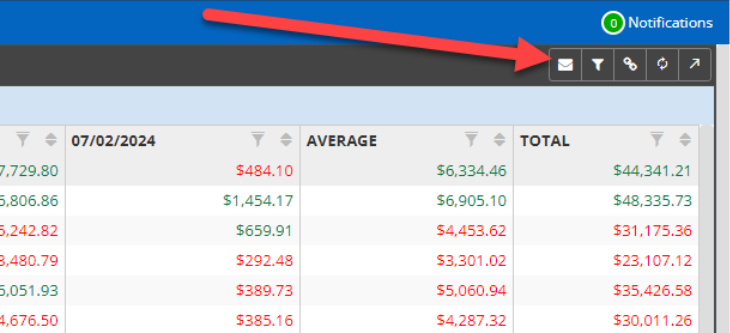
To set up Auto-Delivery, click the Mail icon located on the top right-hand side of the report page and select the Frequency of the report to be delivered along with the Start Date and Delivery Time.
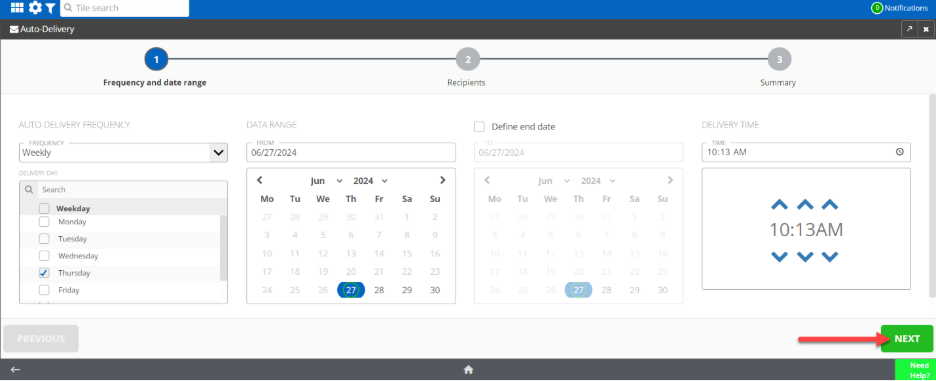
If you would like to set an end date, then click the Define end date checkbox and add the To date.
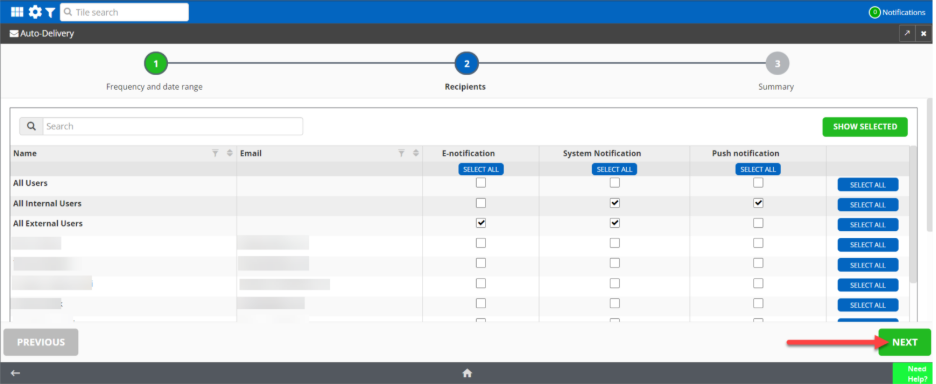
Then, click the Next button or the Recipients icon to select recipients and report delivery notification method. To review the Summary, click the Next button.
To schedule the report for Auto-Delivery, click the Save & Finish button.
How to Manage Auto-Delivery
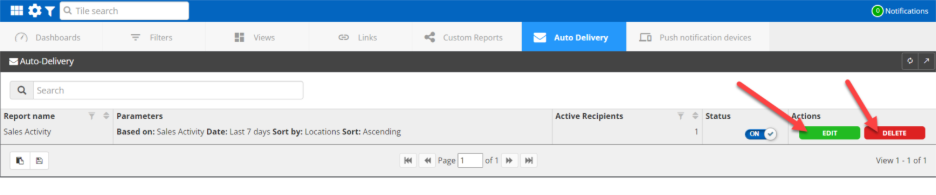
To edit or delete existing Auto-Delivery, click the Settings icon located on the top menu bar, then choose Items.

On the new page, select Auto Delivery tab. Here, you can toggle Auto-Delivery on or off by clicking the On or Off button in the Status column. You can also EDIT or DELETE the existing Auto-Delivery settings via the EDIT and DELETE buttons.
For additional information or questions please contact DTiQ Support at support@dtiq.com or your Customer Experience Team at csr@dtiq.com.