The video navigation menu is the black bar located at the bottom of your camera image, which can be used to control your video footage. In the video player, you can easily view date and time information, camera model, standard/high-definition footage, and more.
Content
In this guide, you will learn how to navigate the Video feature as follows:
- Video Player Layout
- Understanding Camera Views
- Camera Layout
- Frame by Frame
- Thumbnail Navigation
- Accessing Cloud Archive
Video Player Layout
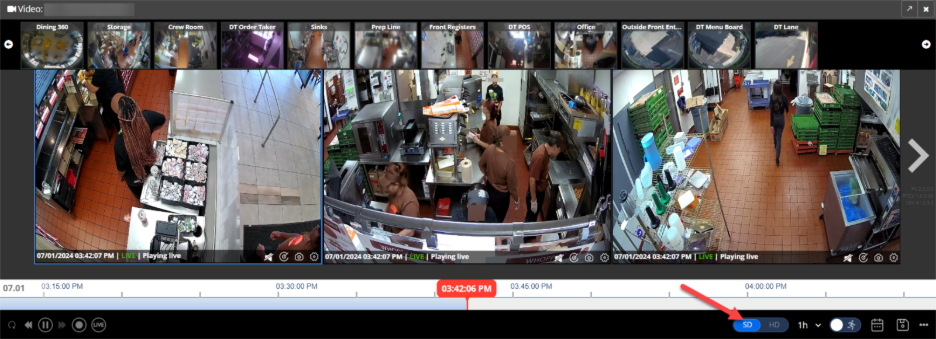
On the left-hand side, you can instantly replay, slow/rewind, play/pause, fast forward, quick-record, or toggle to live video. When the video is paused, you can click on the fast forward/rewind buttons to enable a frame-by-frame view.
On the right-hand side, you will see options as follows: 1h (hourly time increments) to adjust the time scale of the scrub bar, a running man icon to toggle on motion detection, a calendar to access historical video, and more options to change the camera view (rectangles and squares), Take snapshot, Save link, change Settings (see below), and access the Cloud Archive.


Understanding Camera Views
Each camera view shows a different camera from your location so you can easily monitor your store.
Top-Left: View Name Information
On the top left-hand side of each camera view, you will find the camera name along with location name and the camera type in the following format:
Camera Name | Location Name | Camera Type
Note: If you have 5-megapixel (MP) cameras, you will see this sparkling camera lens sign after the Camera Type.

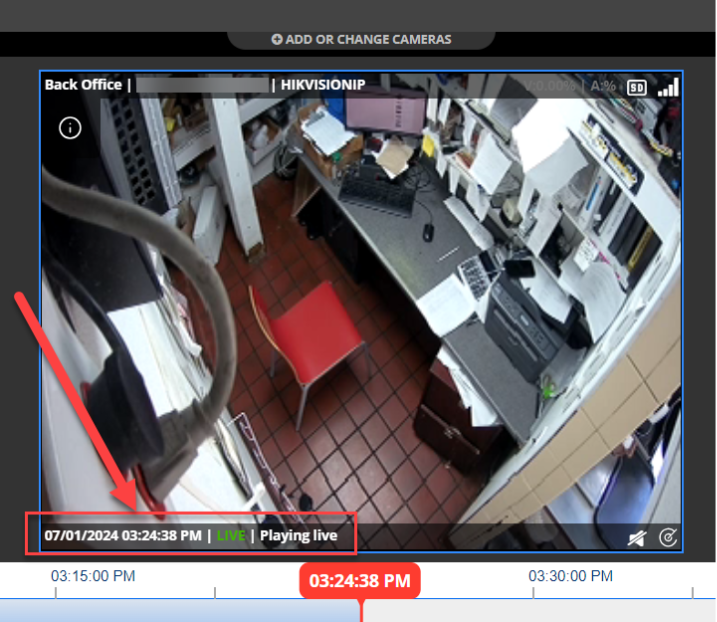
Bottom-Left: Date and Time Information
On the bottom left-hand side of each camera view, you will find date and time of the on-screen video along with the status of the video (Live, Historical, or Buffering).
Fast-Forward and Rewind
In the bottom-left corner of the screen, you will also notice your video controls. These let you alter the playback with rewind, fast-forward, and play/pause buttons.
To fast-forward, click the double arrows on the right side of the play/pause button. To rewind, click the double arrows on the left side of the play/pause button.
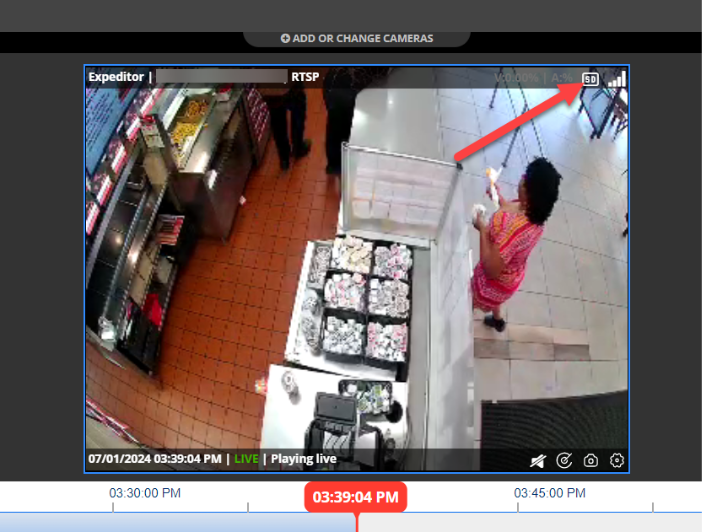
Top-Right: Video Quality Toggle (Standard or High Definition)
On the top right-hand corner of each camera view, you will find the percentage of the buffer that has been filled for Video (V), the percentage of the buffer that has been filled for Audio (A), the Video quality toggle, and the network connection status.
Changing Video Resolution (Standard/High Definition)
You can switch between Standard Definition (SD) and High Definition (HD) video quality by clicking on the top-right section of the camera view. 360iQ presents camera views in Standard Definition by default to save on your Internet bandwidth usage.
Note: If there are certain camera views that you would like to always see in HD, turn on HD for the camera views and click the Save view icon located at the bottom right-hand side of the video panel. Your preferences will be saved.
Bottom-Right: Audio and Video Toggle
On the bottom right-hand side of your camera view, you will be presented with options t:
- Toggle audio on/off (if audio is enabled)
- Use Video manipulation
- Take snapshot
- Tweak Settings.
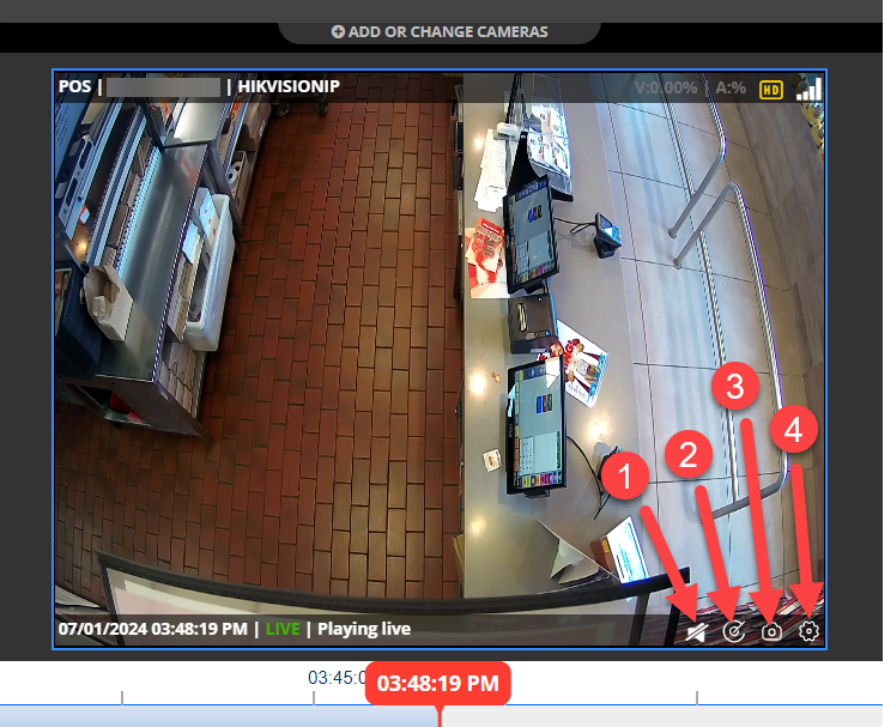
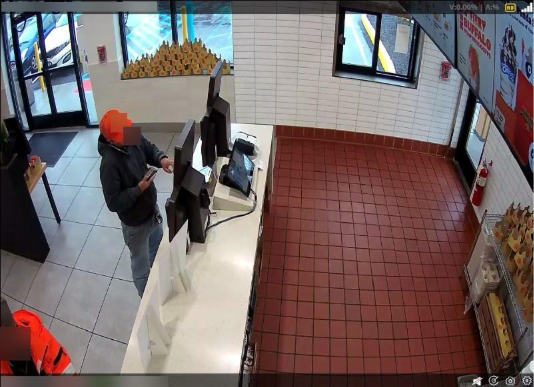
Snapshot
To take a snapshot, click the camera icon in the bottom-right corner of the video. When you take a snapshot, you take a screenshot of the current camera view, which will automatically be downloaded to your computer.
 Listening to Audio
To listen to the audio stream from audio-enabled cameras, simply toggle audio on/off on the bottom right-hand corner of your camera view.
 Video Manipulation
To alter a specific camera view, select the video manipulation button located at the bottom right-hand corner of the camera view. When video manipulation is enabled, the button will turn blue. You can use your mouse or touch pad to scroll up/down or to zoom in/out.
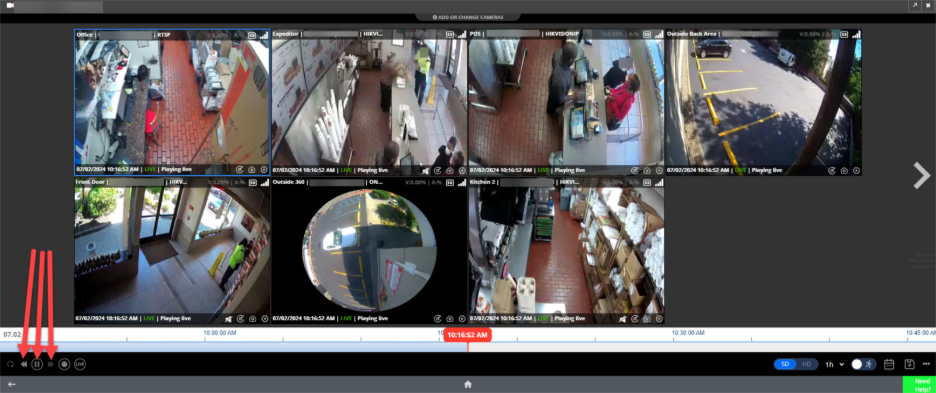
Camera Layout
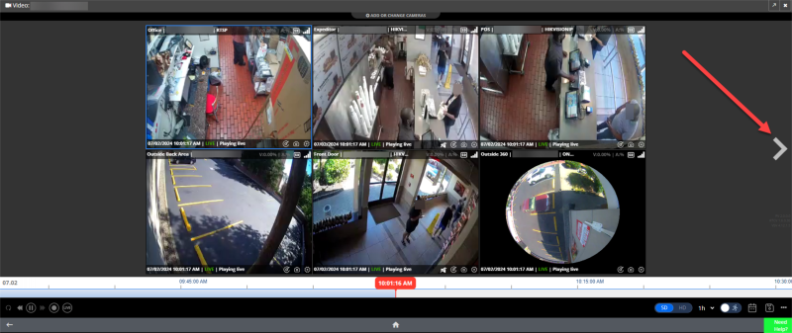
When accessing video for a location for the first time, you will see 6 cameras on your screen. If you want to view different cameras, click on the side arrows, which will take you to the next set of 6 camera views.
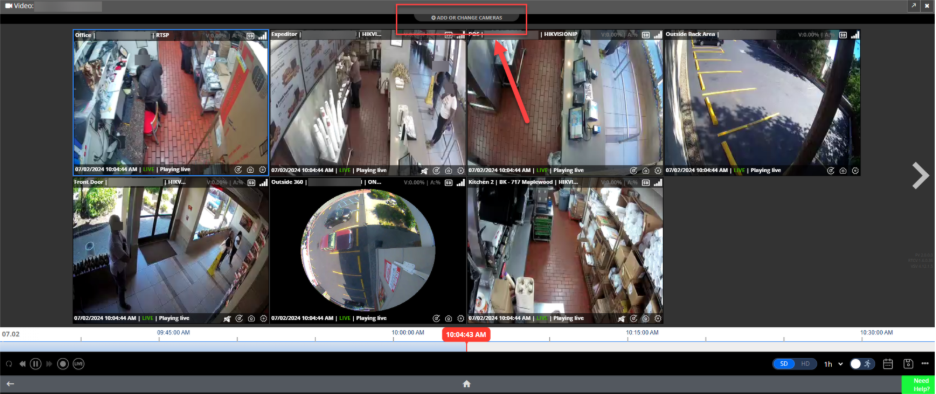
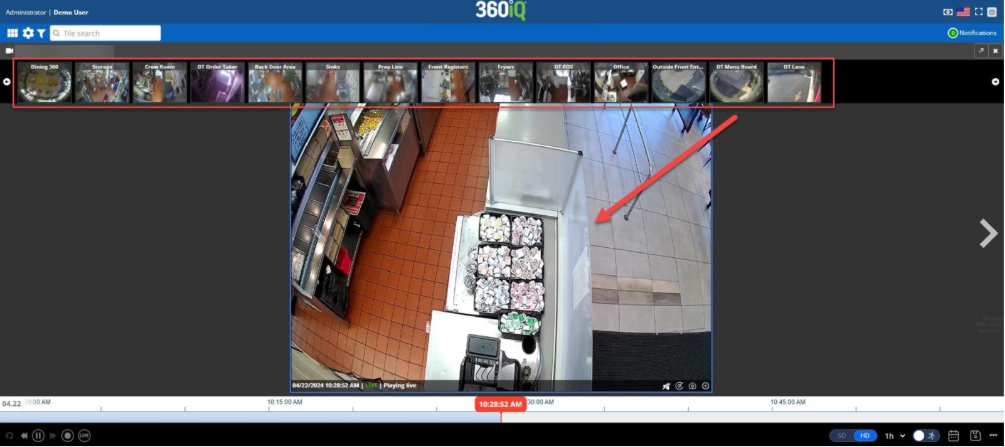
Add or Replace a Camera View
To add an additional camera view, hover over the + Add or Change Cameras icon located on the top center of your screen to see additional camera options. To add a camera, drag the desired camera to the empty gray areas of the screen. You can also drag cameras out of view by placing them back in the tray.
Saving Camera Layout
If you would like to view the same set of cameras every time you access a location, simply click the Save View icon located at the bottom right of your screen. Your other camera views are still accessible by clicking the side arrows or by replacing cameras from the camera tray.
Note: Saving camera views will also save the video quality (SD/HD) preferences associated with your camera views.
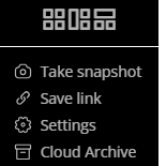
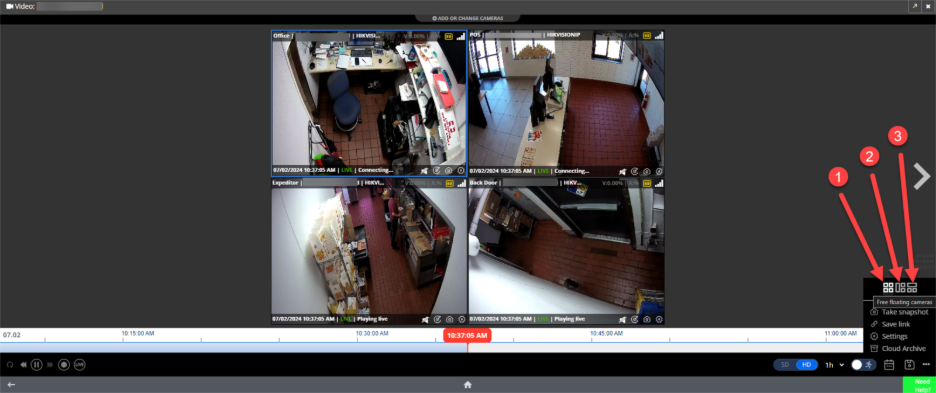
More Options
In addition to the view options above, you can also break the layout up as follows:
- 4 cameras (free floating)
- 1 large camera view to the left, 2 small camera views to the right
- 1 large camera view on top of 1 small camera view
To access these options, click the options (three dots) icon in the bottom-right corner of the video. Then, choose your preferred view to alter the layout.
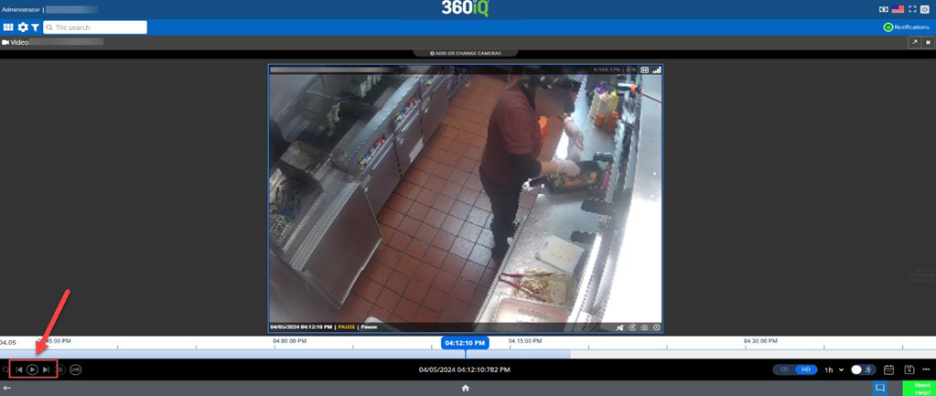
Frame by Frame
Within live or historical videos, you can navigate the footage frame by frame. Use the scrub bar to select the footage you want to view. In the bottom-left corner, press the Pause button to pause the video. Then, press the buttons on either side of the Play button to Step Backward or Step Forward one frame at a time.
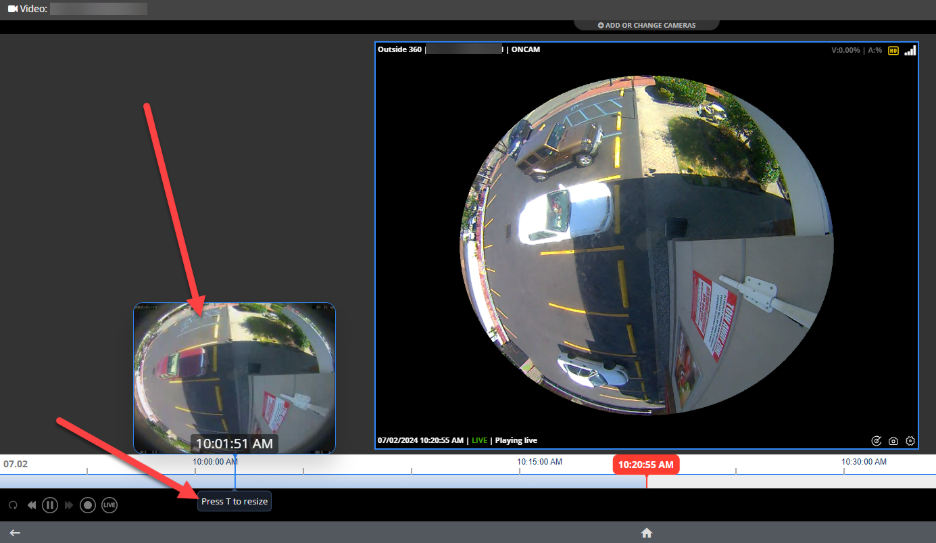
Thumbnail Navigation
You can also use the scrub bar to navigate to a particular spot in the video via thumbnail image. Hover over any point in the scrub bar and a thumbnail image still of the video will pop up. Click into the thumbnail to view the footage and press the T key to expand the thumbnail.
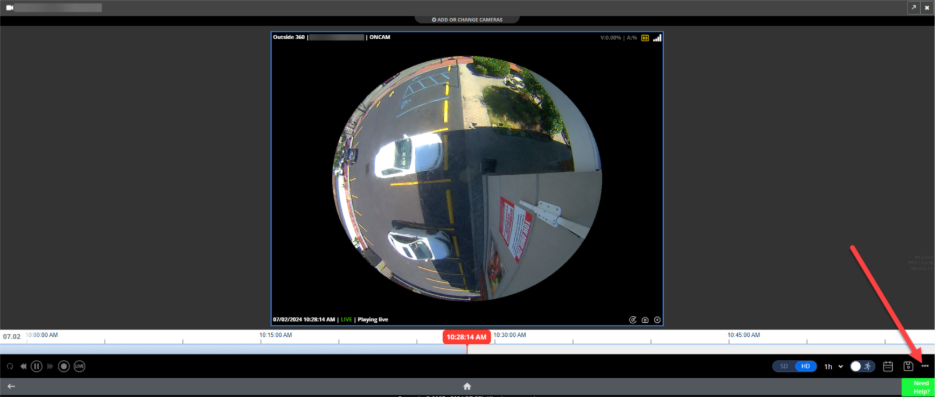
Accessing Cloud Archive
You can access the Cloud Archive at any time by clicking the options (three dots) icon. Then, click the Cloud Archive option.
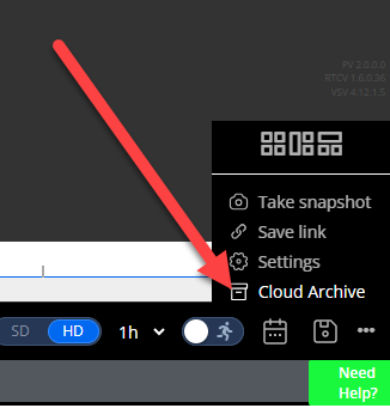
On the next screen, you have the option to create a New Cloud Archive. For more information, check out our extensive Cloud Archive Guide.
For additional information or questions please contact DTiQ Support at support@dtiq.com or your Customer Experience Team at csr@dtiq.com.