The Cloud Archive is a feature that allows you to request video recordings saved in the 360iQ cloud, rather than on the local NVR. Using the Cloud Archive, you can download, edit, and share video requests. You can access the Cloud Archive feature on the web and in the mobile app. In addition, once the Cloud Archive has been created, the event uploaded to the Cloud Archive will not be deleted until the user chooses to delete it. Even if the local NVR fails, your footage will still be available via the cloud.
Content
In this guide, we will address the following:
Create a New Cloud Archive on the Web
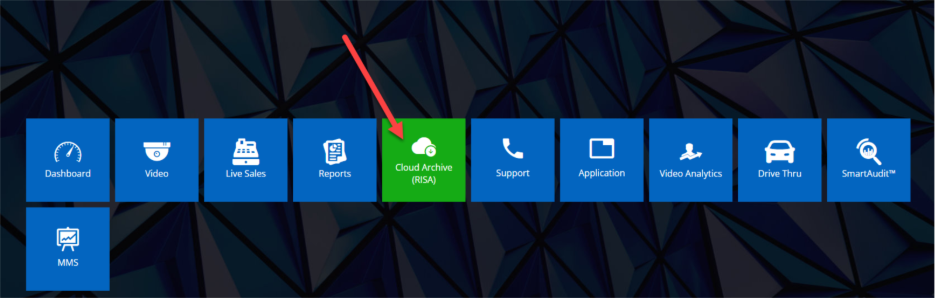
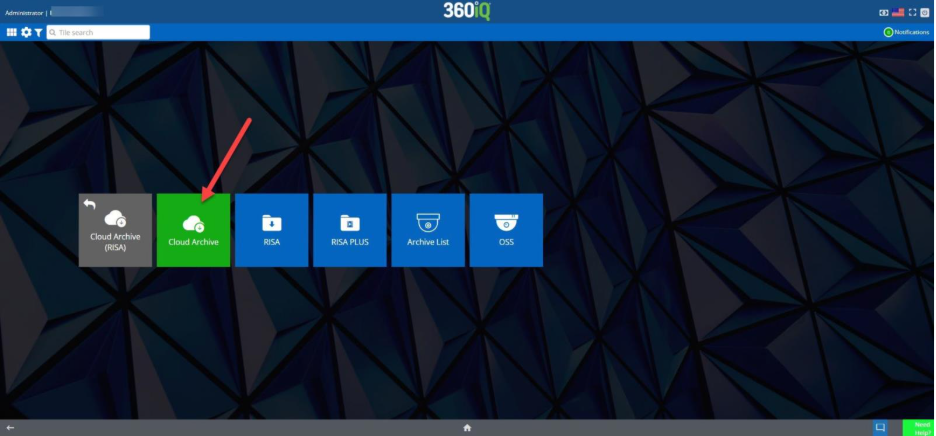
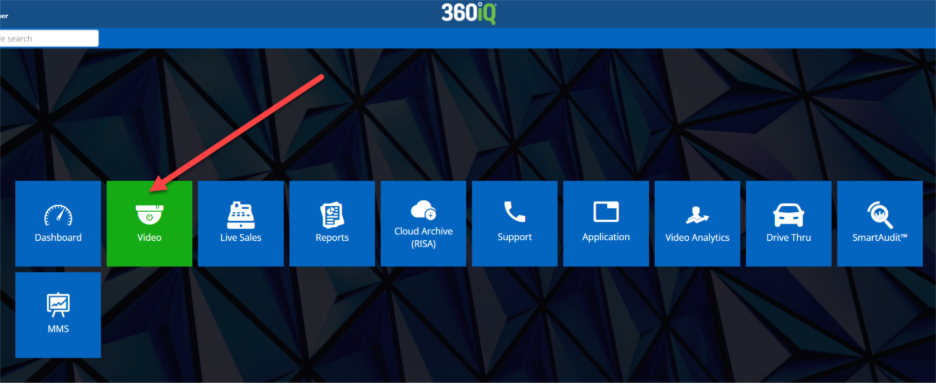
To access the Cloud Archive, navigate to your Home Screen and click the Cloud Archive (RISA) tile, then click Cloud Archive. You can also access it via the Quick bar’s Cloud Archive tile.
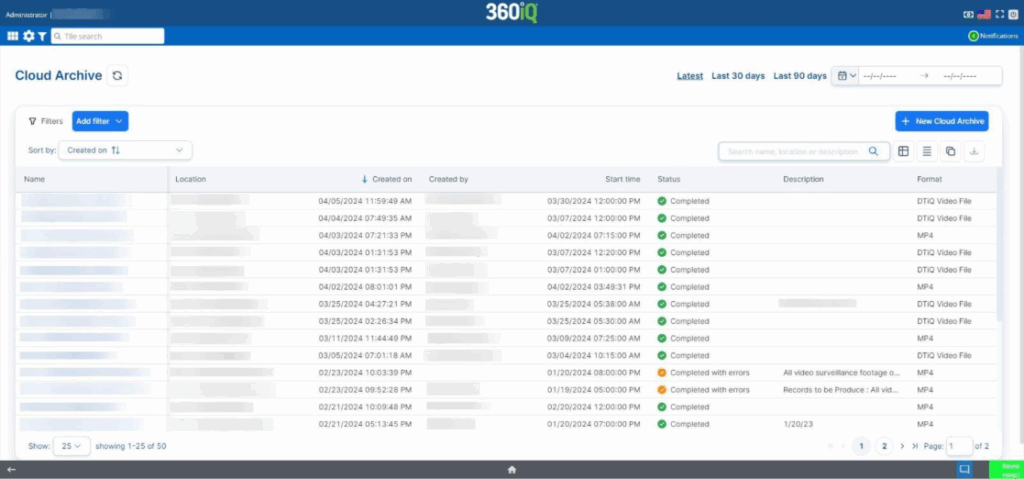
In the Cloud Archive, you can access historical video records for locations and dates of your choice. You can also Add filters and create a New Cloud Archive.
Create a New Cloud Archive
There are two methods to create a new Cloud Archive:
- In the Cloud Archive dashboard
- In the video panel
Keep reading to learn more about each method.
In the Cloud Archive Dashboard
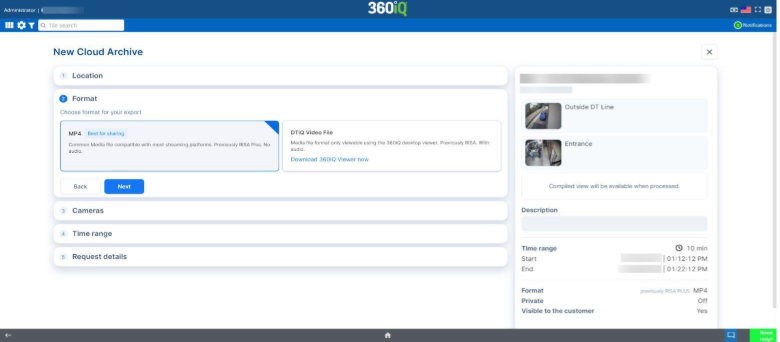
Click the +New Cloud Archive button at the top right of your screen. A menu will pop up. First, choose your Location and click Next. Then, select your export Format as follows:
- MP4 file: A common media file format that works on most platforms. No audio capabilities.
- DTiQ file: A proprietary file format that requires the DTiQ Video Player to run. Has audio capabilities.
Once you have selected your format, click Next. Select the cameras for which you want to create the Cloud Archive, then click Next. Select your desired time range and click Next to move on to the final step.
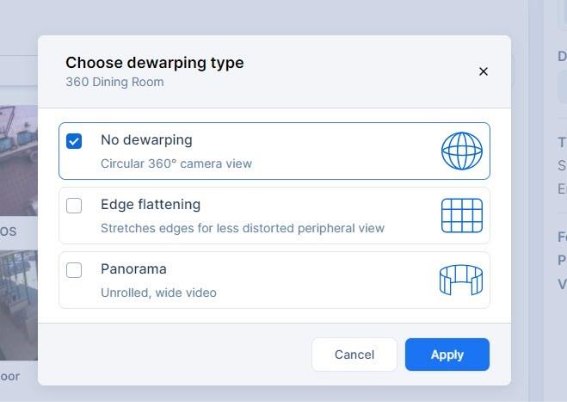
If you are creating a Cloud Archive using a 360-degree camera, you will be presented with the following dewarping options:
- No dewarping: Circular 360° camera view (i.e. show as-is).
- Edge flattening: Stretches edges for a less distorted peripheral view.
- Panorama: Unrolled, wide video.
Lastly, fill out the Request details (e.g. Name and Description) and toggle Make request private and Share when completed on or off as needed.
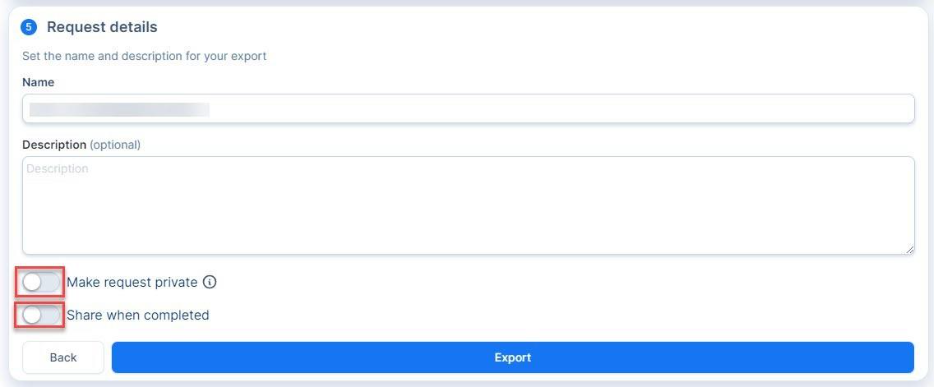
By making a request private, it can only be accessed by the person who initiated the request.
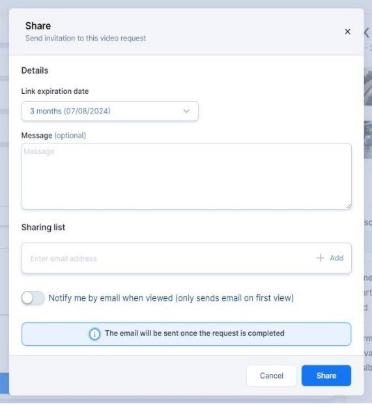
If you would like to share the Cloud Archive once it has finished processing, toggle Share when completed on. In the pop-up menu, choose your Link expiration date, message, and email Sharing list. You can also toggle Notify me by email when viewed (only sends email on first view) on to receive a message when someone opens your new Cloud Archive. Once you have made your selections, click Share.
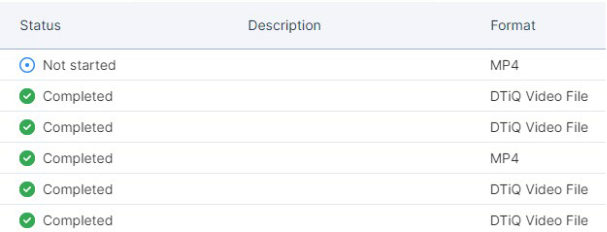
Once you have all your preferred options selected, click Export to create the new Cloud Archive. You will see the processing status of the new Cloud Archive in your Cloud Archive Dashboard.
Note: Cloud Archive export time will depend on the number of cameras and length of time range selected.
In the Video Panel
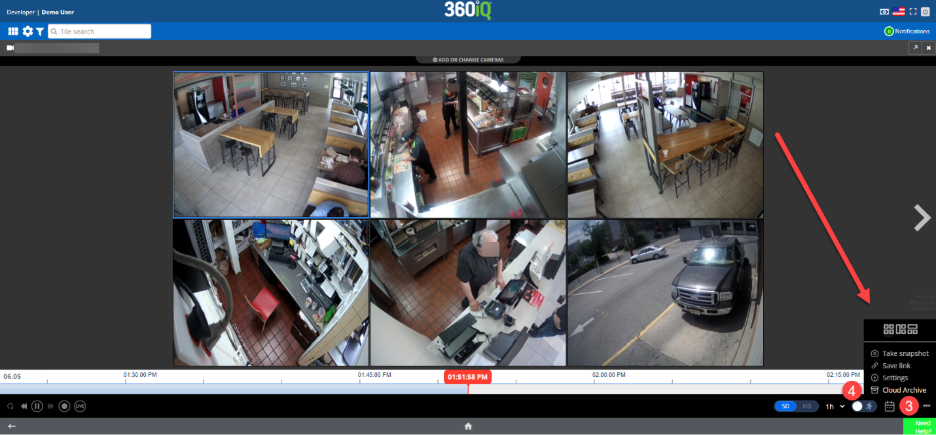
To create a new Cloud Archive from the video panel, navigate to the Video tile via the Home screen or Quick bar.

- Choose your desired location from the list of Locations for your organization.
- Click the Video tab to access the camera feed for that location.

- On the Video screen, click the ellipses (three dots) icon in the bottom right of the Video panel.
- Click Cloud Archive.
From there, you will follow the same steps as the previous method. Once you have filled out the required information, your Cloud Archive request will be processed.
Filters
To filter the Cloud Archive, click the blue Add filter button at the top left of the screen. A menu will pop up. From here, you can select Filter categories such as Location and Request details to narrow your list of options.
Request details include the following factors: Status, Format, Privacy, and Start Time.
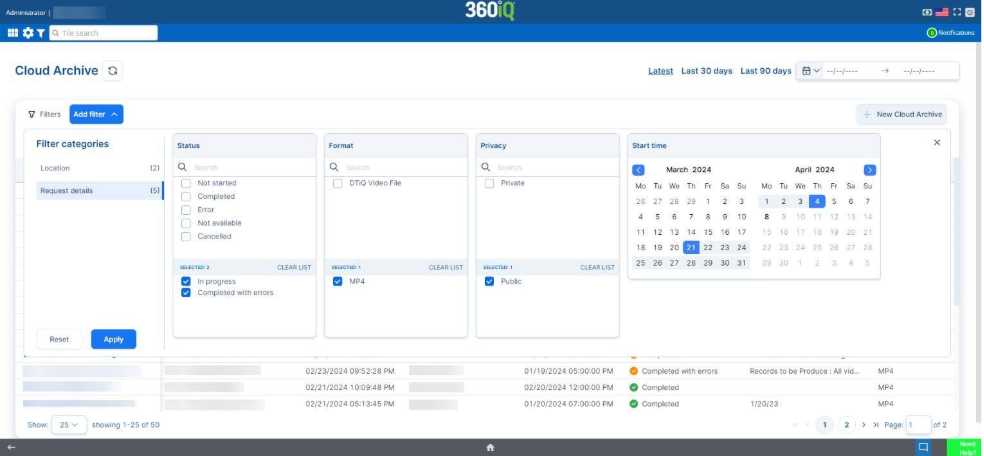
Select your filter options from the list and click Apply to save the filter. The Cloud Archive dashboard will display information filtered by your chosen options.
For additional information or questions please contact DTiQ Support at support@dtiq.com or your Customer Experience Team at csr@dtiq.com.