Single Sign-On (SSO) is an authentication method that allows users to access multiple applications using a single set of login credentials. Rather than logging in to each application separately, users can authenticate once and are then automatically granted access to the other applications within the SSO system.
Content
In this guide, we will cover the proceeding topics:
Configuring 360iQ Organization Wizard
Note: To access the Organization Wizard in 360iQ, you must have an SSO Admin role in 360iQ. To update your permissions, please contact Support or your Customer Experience Manager.
Once you have added 360iQ to Microsoft Entra ID, proceed as follows:
- Log in to 360iQ.
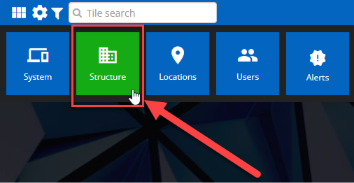
- Click the Settings (gear) icon in the top left corner of the page.

- Click the Structure tile.
- Click the Organizations tab.

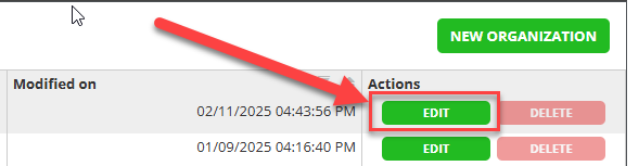
- In the Organizations wizard, find your organization and click the EDIT button in the Actions column. If there are multiple organizations, choose the one that matches your company name.
- Click Next to advance the menu to the Security section.

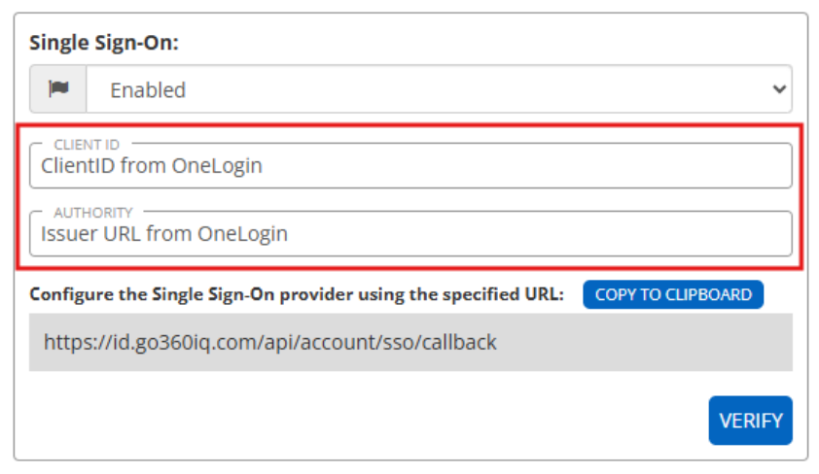
- Under Single Sign-On, click the dropdown arrow and choose Enabled.
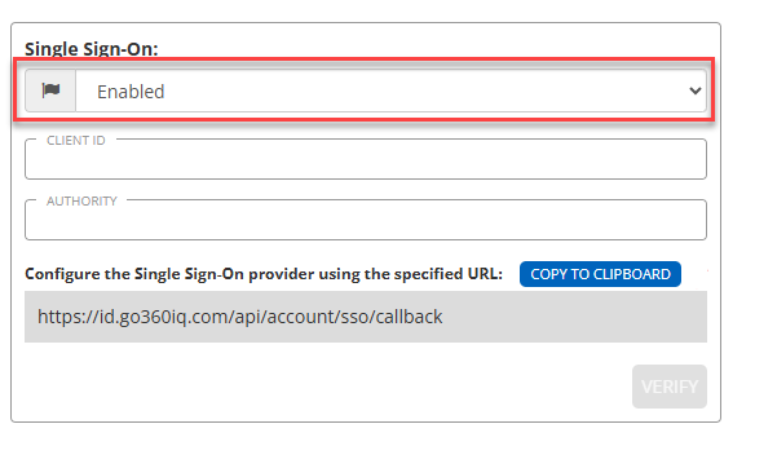
- More options will appear. Enter the Client ID and Authority.
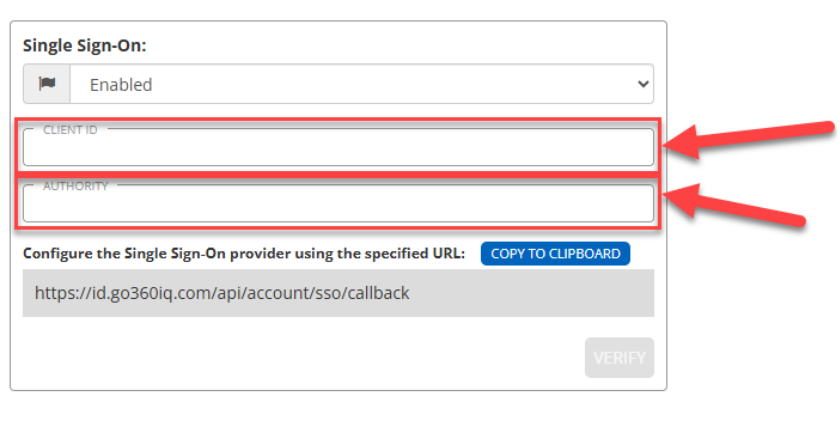
- Return to OneLogin. Copy the Application (client ID) from OneLogin and paste it into 360iQ.

- Return to 360iQ. In the Authority field, type “https://login.microsoftonline.com/{Directory}/v2.0”, where “{Directory}” is the value from the OneLogin page (Directory (tenant) ID).
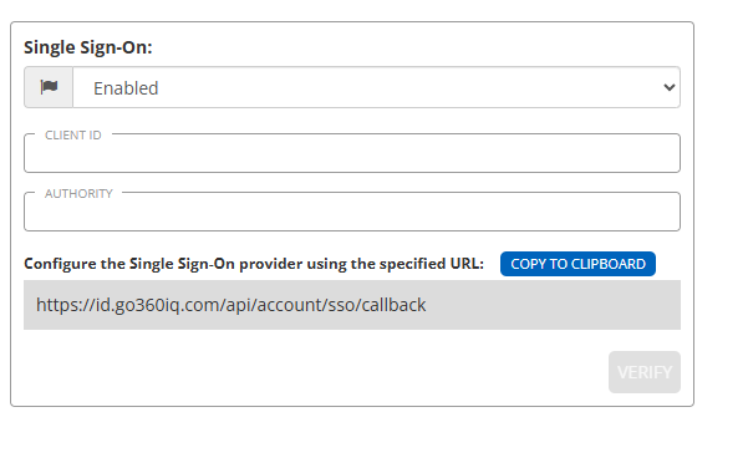
- Once you have provided these details, you must confirm them via a verification flow. To begin verification, click the Verify button. You will be redirected to your SSO provider’s login page, where you need to perform a successful login.

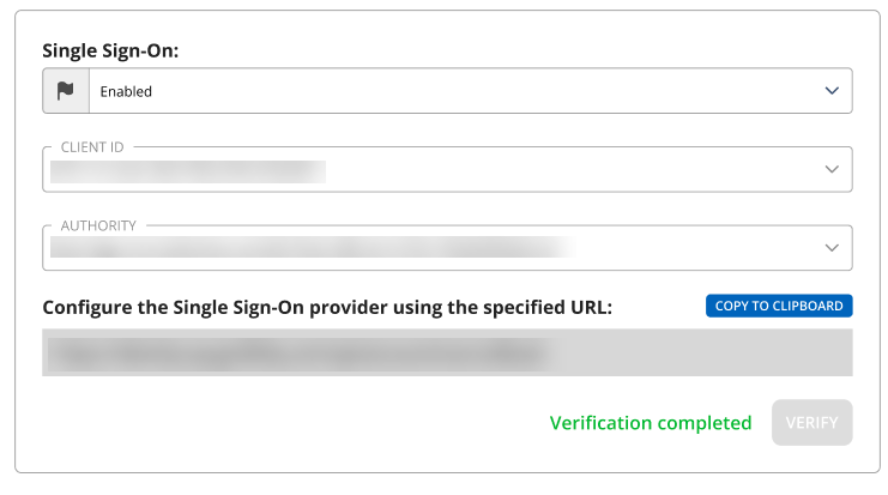
If your login is successful, you will receive this message and can move on to the next steps:
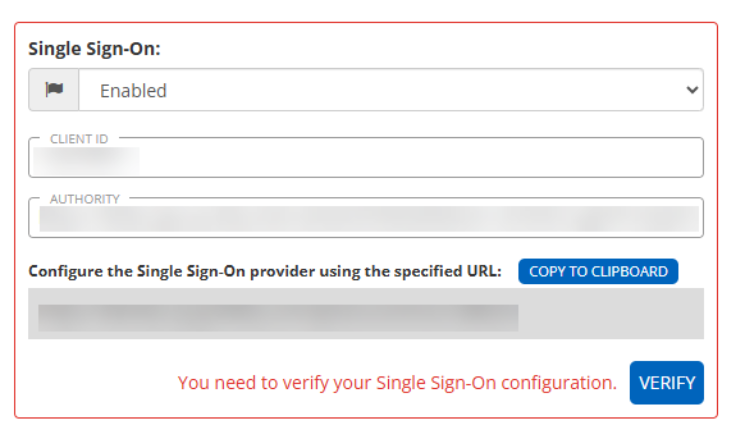
If the verification is unsuccessful, you cannot proceed and will receive this error message:
- Once verification has been completed, click Next.

- On the Summary page, review your details, then click Save.
Note: Once Single Sign-On (SSO) has been configured properly, all users will be required to use SSO upon their next log in.
Configuring OneLogin
Take the following steps:
- Navigate to your organization’s administration page (https://{your_org}.onelogin.com/admin2). Click the Applications tab.

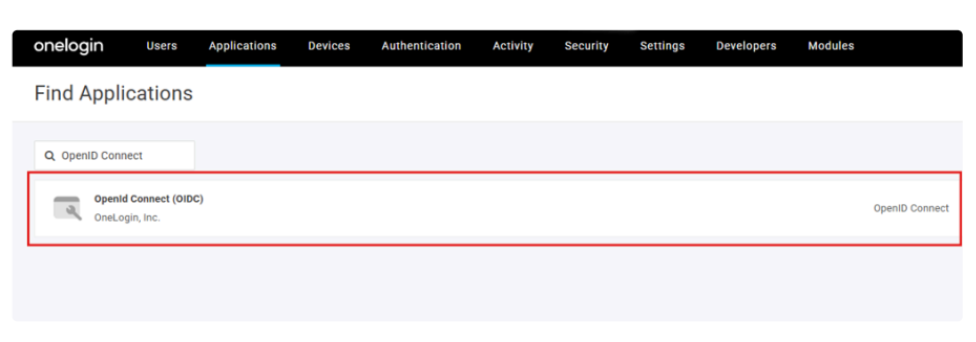
- On the right side of the screen, click Add App. On the next screen, in the search bar, input “OpenID Connect” and select Openid Connect (OIDC) as the application type.
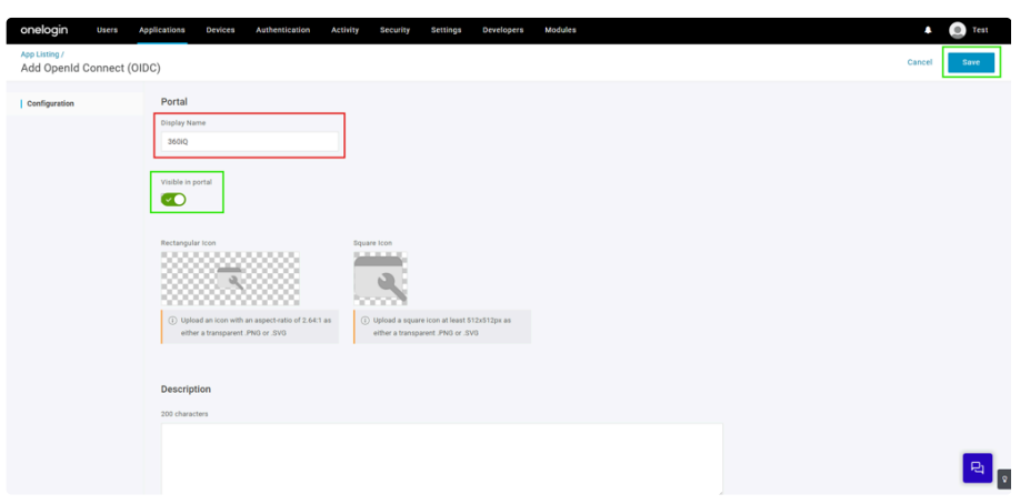
- On the next page, locate the Display Name box and enter 360iQ. Note: To allow users to log in directly via the OneLogin portal, toggle the Visible in portal option on. Provide application icons and description (if desired), then click Save in the upper-right corner.
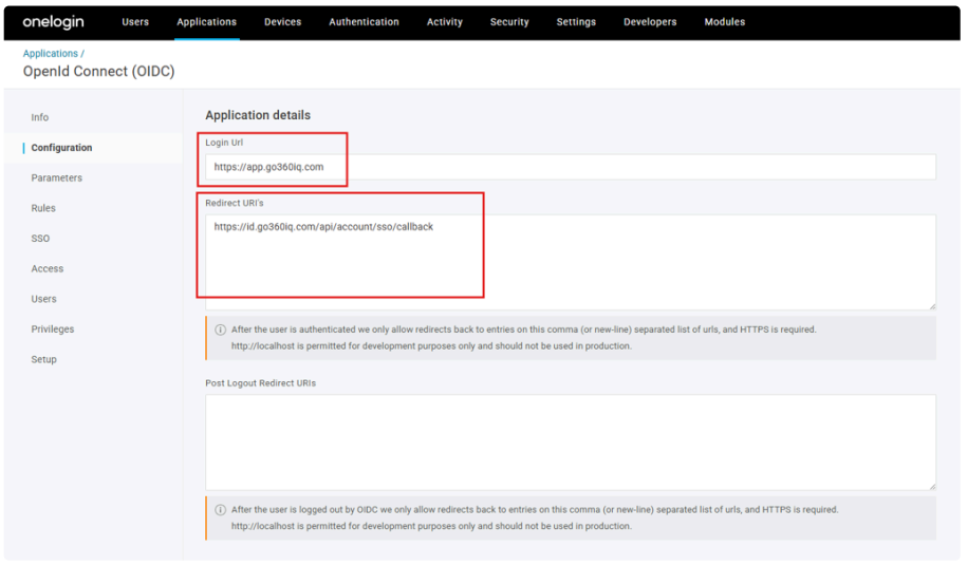
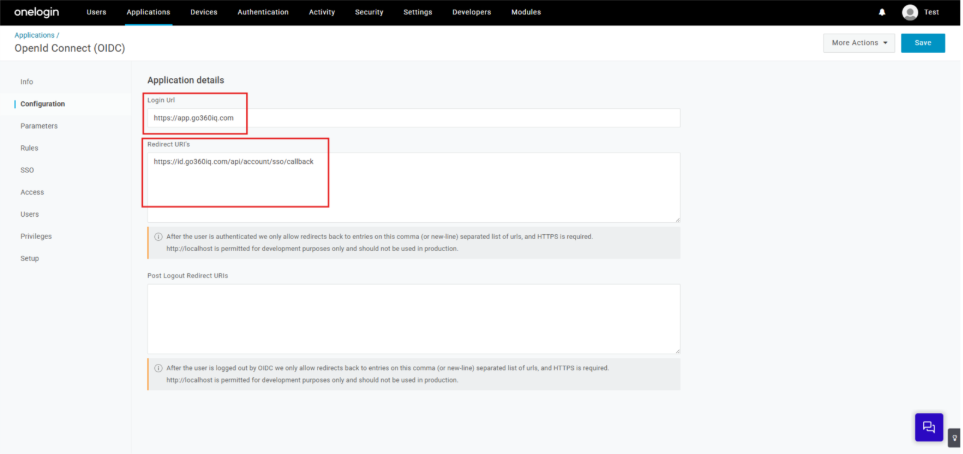
- Once your app has been saved, click the Configuration tab on the left side of the screen. Set the Redirect URI’s to https://id.go360iq.com/api/account/sso/callback (copied from 360iQ). Note: To allow users to log in directly to 360iQ via OneLogin, ser Login Url to https://app.go360iq.com. Leave the Post Logout Redirect URIs field empty.
- Next, go to your SSO tab. You will need to enter the Issuer URL and the Client ID in 360iQ’s Organization Wizard.
- Once you have added the 360iQ application to OneLogin, you must assign it to the appropriate users or user groups in OneLogin.
- If the application and login portal have been configured correctly, you should see the 360iQ tile in OneLogin.

For additional information or questions, please contact Support at support@dtiq.com or your Customer Experience Team at csr@dtiq.com.