To edit or assign user roles to external user accounts in 360iQ, first log into the platform at https://app.go360iq.com. You should see either the Home screen or your Dashboard.
From either page, click the Settings gear at the top left of your screen, then click the Users tile.
Note: Only users assigned the role of Administrator can create or edit users.
For more information, check out our guide on creating a new user account.
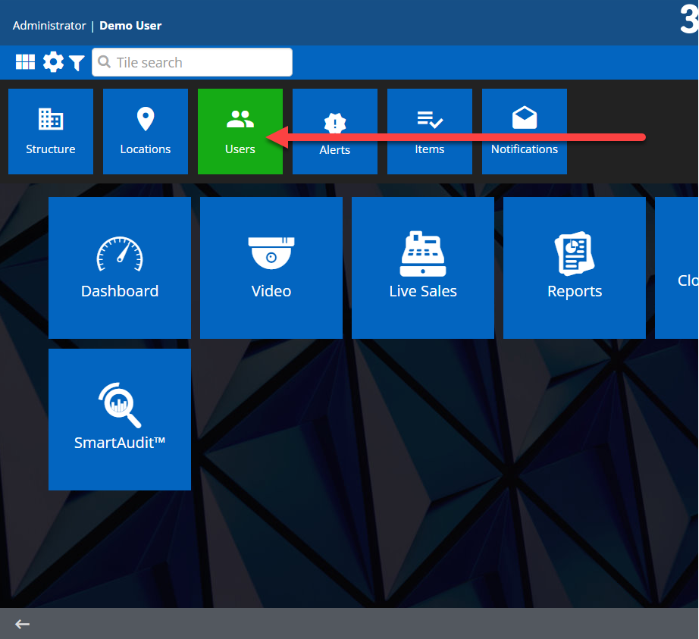
You will then be redirected to the Users Management dashboard.
Content
In this guide, you will learn:
Types of External User Roles
The following roles are available to external 360iQ users:
- Video User Accounts
- Video and Audit User Accounts
- Manager User Accounts
- Administrator User Accounts
1. Video User Accounts
Note: If you want your user to access video analytics, select Video User–VA for their role type.
A Video User Account has the following permissions:
- Live and historical video on web and mobile devices – Users can access in-progress footage, as well as past recordings. Live video will have a LIVE text indicator in the middle of the screen, whereas historical video will have the word HISTORICAL appearing in the same place.


- Single or multiple locations – Users can select one location or multiple locations to view video of. Administrators can choose which locations a user can access.

2. Video and Audit User
Note: If you want your user to access video analytics, choose Video and Audit User-VA as their role type.
A Video and Audit User Account has the following permissions:
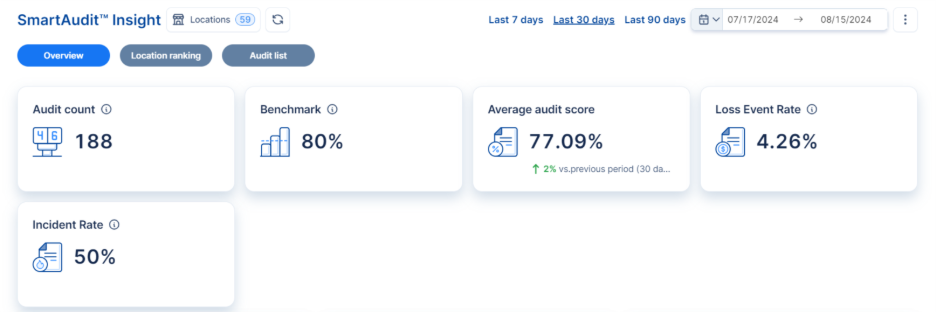
- SmartAudit™ Insight – Users can access the SmartAudit Insight™ dashboard. To explore SmartAudit™ Insight, click the Quick Bar icon in the top right corner of the screen, then SmartAudit™, then SmartAudit™ Insight.

You will be taken to the SmartAudit™ Insight dashboard, which offers a more comprehensive view of your location insights and analytics.
3. Manager User Accounts
Note: If you want your user to access video analytics, choose Manager-VA as their role type. Data access for this role depends on subscription level and POS support.
A Manager User Account has the following permissions:
- 360iQ Reports/Custom Reports – Users can access the Reports tile. To view Reports, click the Quick Bar icon in the top right corner of the screen, then click Reports.

Within Reports, you will see options for several types of reports, including a Sales Report, Discount Report, and Employee Time, to name a few. Clicking on any of these specific report type tiles takes you to that respective dashboard.

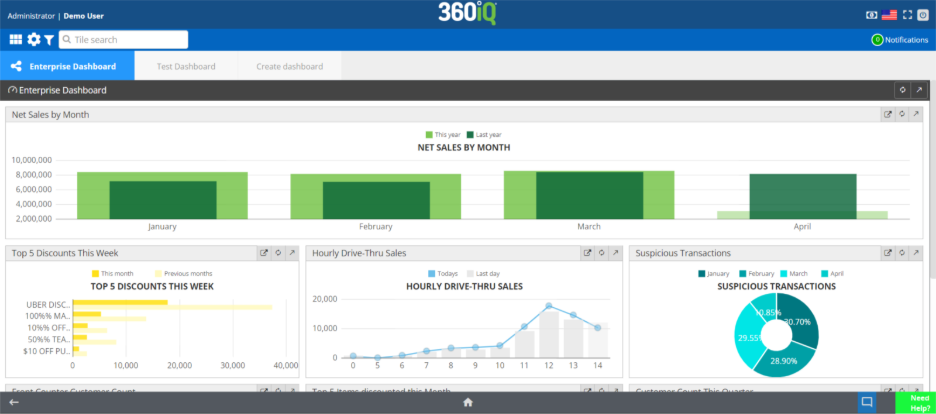
- Dashboard – This type of user can access the Dashboard tile. You can visit the Dashboard at any tile by clicking the Quick Bar icon in the top right corner of your screen, then click the Dashboard tile.

The three tabs at the top of the Dashboard show options for the Enterprise Dashboard and any custom dashboards created/enabled for the user. On each dashboard, you will see important data such as Net Sales by Month, Top 5 Discounts This Week, Hourly Drive-Thru Sales, and more.
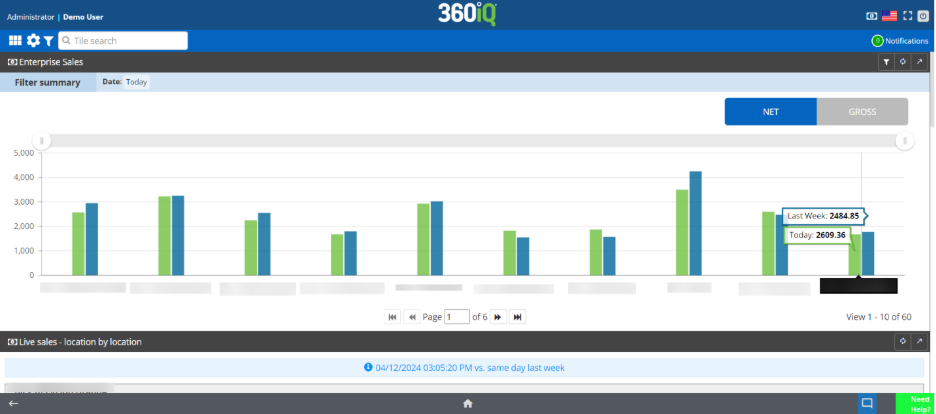
- Live Sales – Additionally, users with this role can access the Live Sales tile. To view Live Sales, click the Quick Bar icon at the top right corner of the screen, then click Live Sales.

In the Live Sales overview, you will see Enterprise Sales (Net and Gross), along with a breakdown of sales by location.
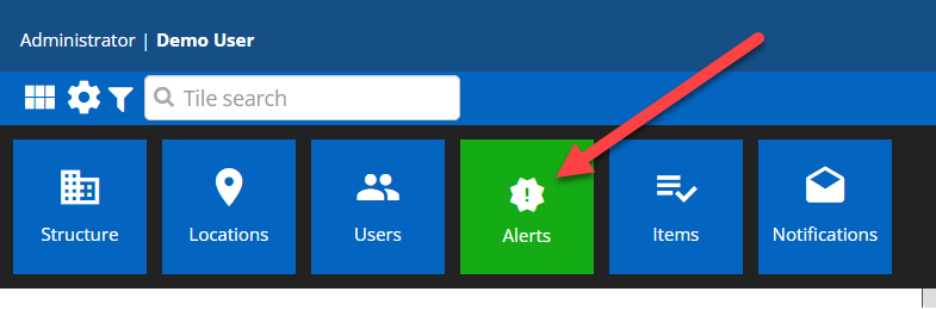
- Alerts – Users at this level can also access the Alerts tile. To view Alerts, click the Settings icon in the top right corner of the screen, then click Alerts.
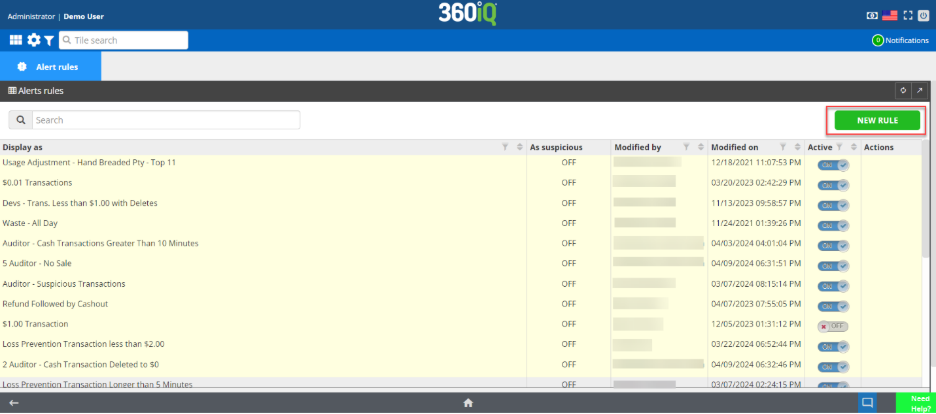
In Alerts, you can see all Alert rules, along with their Display as, As suspicious, Modified By, Modified On, Active, and Actions information. You can also click the green NEW RULE button to create a new rule.
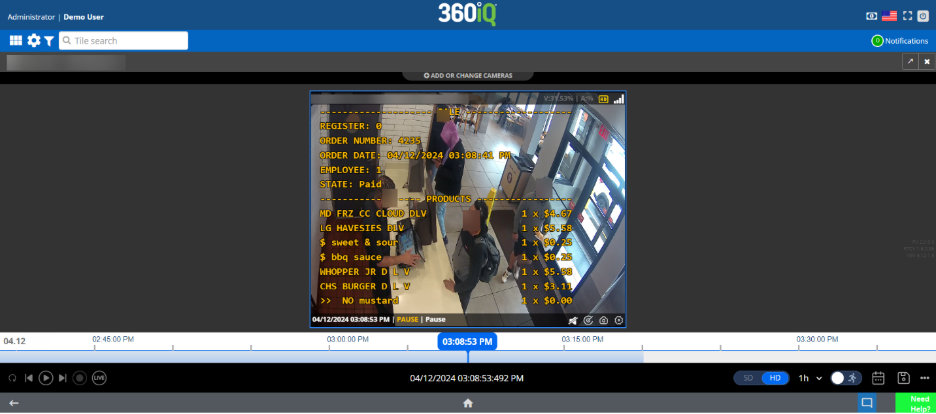
- Text Overlay – Lastly, users at this level can access the Text Overlay in video footage, which shows transactions in real time as they appear on the receipt.
4. Administrator User Accounts
Note: If you want your user to access video analytics, choose Administrator-VA as their role type.
An Administrator User Account has the following permissions:
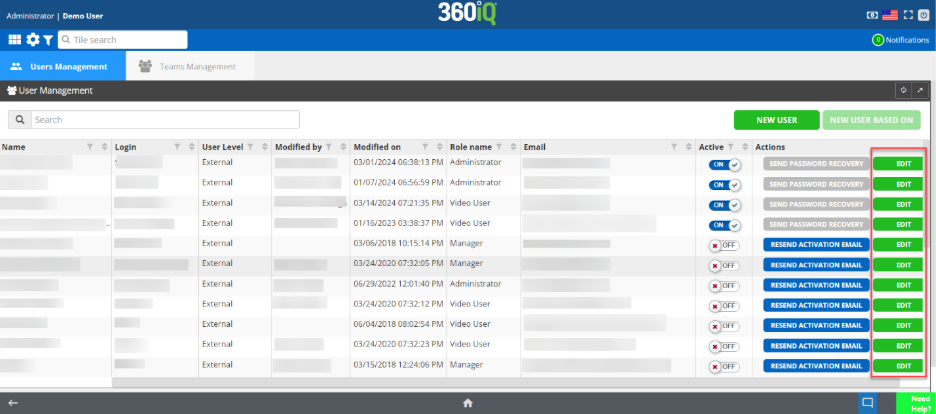
- User Creation/Editing – Any user at this level can access all user creation and editing settings. This includes creating new users, editing role types and permissions, and enabling/disabling locations for certain members of your organization. Once you have navigated to the Users section, you will be able to tweak user settings. Click the green EDIT button to the far right of the User Management dashboard to change a user’s existing settings.
Once you click Edit, you will be redirected to the Edit user section. Here, you can alter User Details, Sign in credentials, Role, and more.

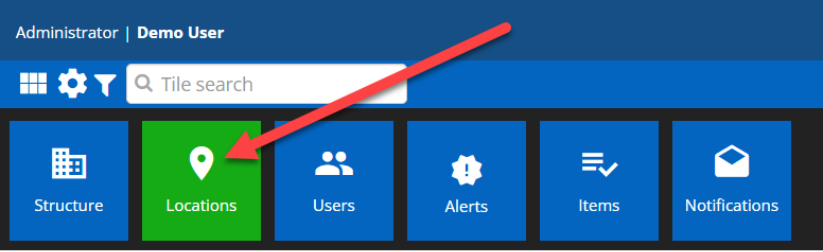
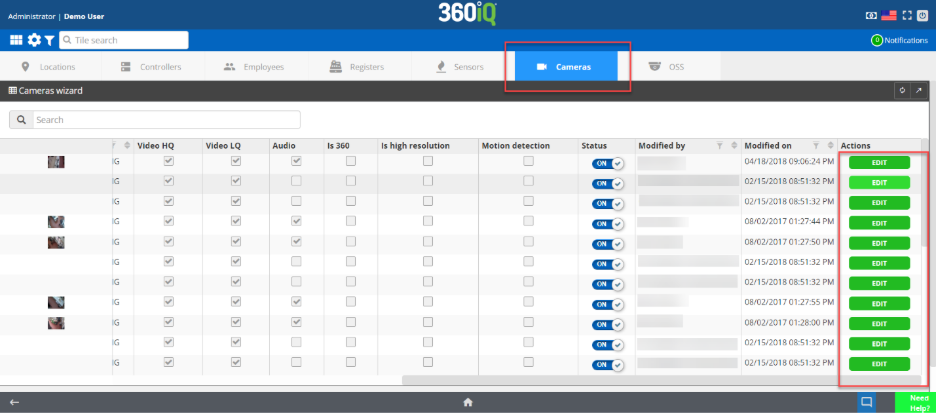
- Camera: Naming/Association – Users with an Administrator role also have access to the Cameras wizard. To find the Cameras wizard, click the Settings icon in the top right corner of your screen, then click the Locations tile. You will see several tabs at the top of the screen. Click the Cameras tab.
Once you are in the Cameras section, you can view all cameras and their names, locations, and model. You can also click the green EDIT button on the far-right side of the screen to edit these camera settings.
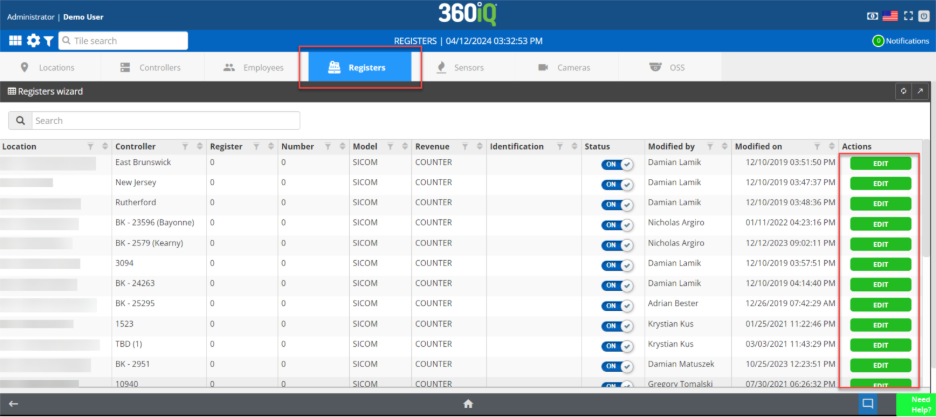
- Register Naming/Association – Users with this role type can also access the Registers section. As with the previous section, navigate to the Locations tile. Then, click the Registers tab to view the register information. To edit any register information, click the green EDIT button on the far-right side of the screen.
- Location Information – Lastly, in the same section as the Cameras and Registers settings, users at this level can access the Locations wizard. Simply click the Locations tab, then you can view all pertinent information for a particular location.

For additional information or questions, please contact DTiQ Support at support@dtiq.com or your Customer Experience Manager at csr@dtiq.com.