Note: DTiQ’s Loss Prevention (LP) Report feature requires an active subscription.
Content
In this guide, we will provide LP Report information as follows:
- How to Access Your LP Report
- How to Navigate the LP Report Dashboard
- How to Filter the LP Report Dashboard
How to Access Your LP Report
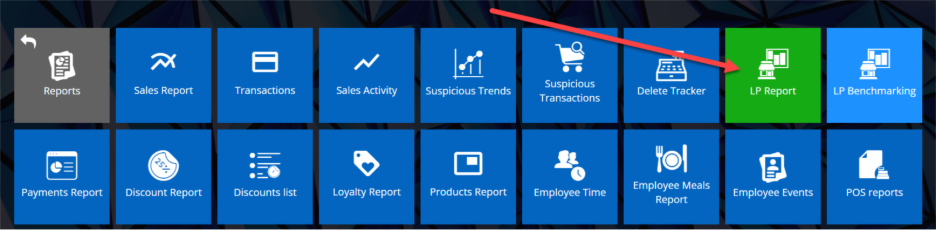
To access your LP Report, click the Reports tile, then LP Report.

How to Navigate the LP Report Dashboard
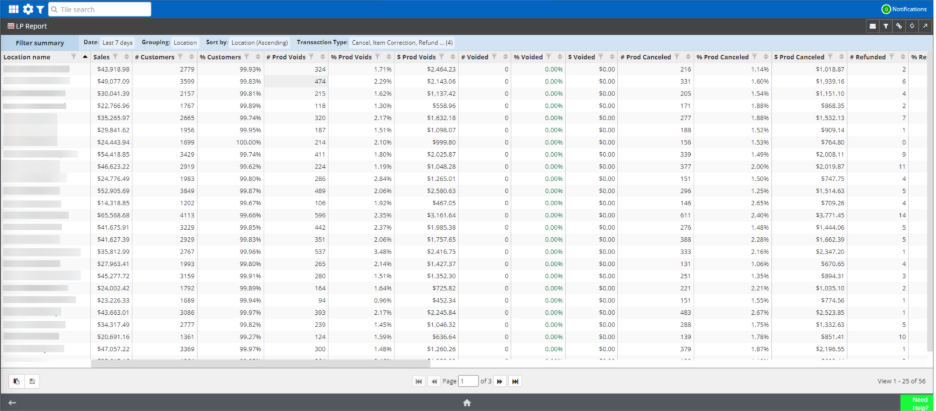
You will be taken to the LP Report dashboard. Here, you can view LP details for each location, with columns and metrics (#, %, $) for the following data:
- Location name
- Sales
- Customers
- Prod Voids
- Voided
- Prod Canceled
- Refunded
- Prod Refunded
- LP
- Neg
- Corr
- < 1
- Discounts
- EmpMeal
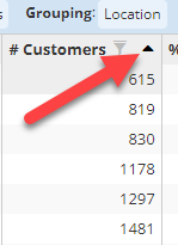
Additionally, you can click the up arrow in any column header to sort those items in ascending order.
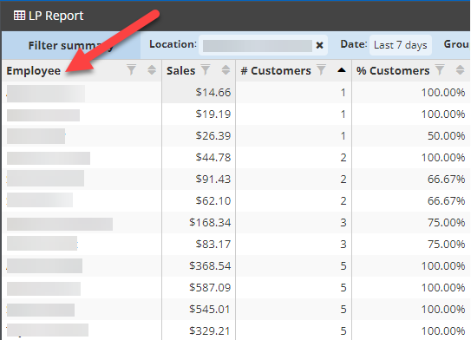
You can also click on the location name to break down the report by employee.
How to Filter the LP Dashboard
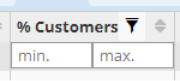
To filter the table, click the Filter icon next to any column header and enter your criteria.
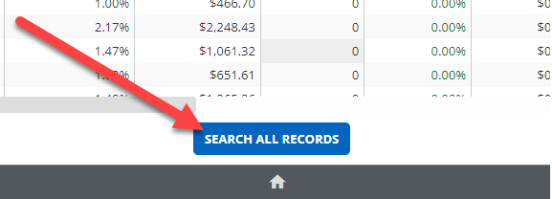
Then, click SEARCH ALL RECORDS at the bottom of the page.
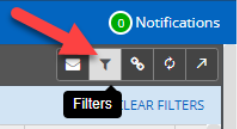
As with DTiQ’s other reports, you can also create a custom filter for the LP Report. To do this, click the filter icon in the top-right corner of the page.
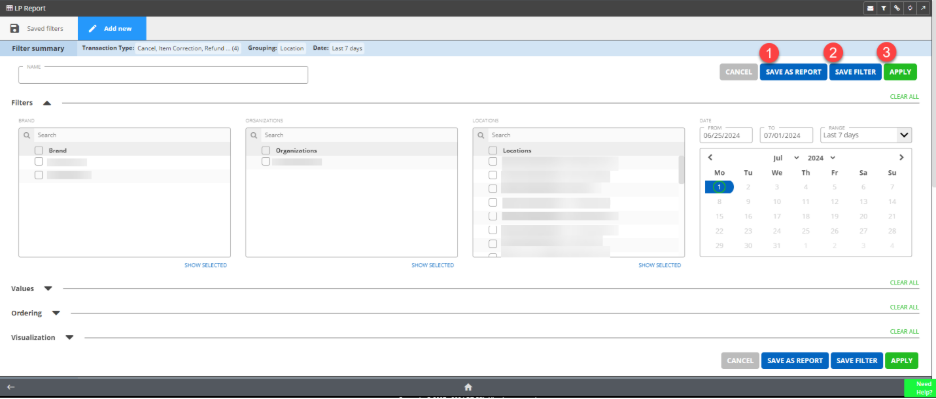
The custom filter menu will pop up. Choose one of the Saved filters for the table or click the Add new to create your own. Select your desired criteria (Filters, Values, Ordering, Visualization), then choose from the following options:
- SAVE AS REPORT to save your filtered data as a Custom Report.
- SAVE FILTER to save the new filter to your list of Saved filters.
- APPLY to immediately apply the filter to your LP table.
For additional information or questions please contact DTiQ Support at support@dtiq.com or your Customer Experience Team at csr@dtiq.com.