Using 360iQ’s innovative Snapshot Audits feature allows you to closely monitor activity in your locations and drill down to gain insights from footage of a given period.
Note: The Snapshot Audits feature is only available for Manager and Administrator roles.
Content
In this guide, we will cover the proceeding topics:
How to Access Snapshot Audits
To access Snapshot Audits, take the following steps:
- Log in to 360iQ: https://app.go360iq.com/.
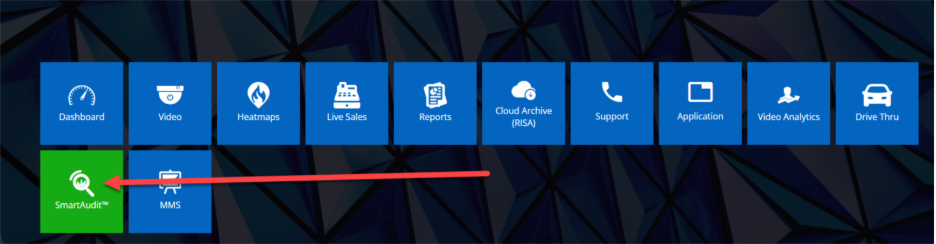
- From the Home Screen or Quick Bar, click the SmartAudit™ tile. You can also access it via the Tile search at the top of the page.
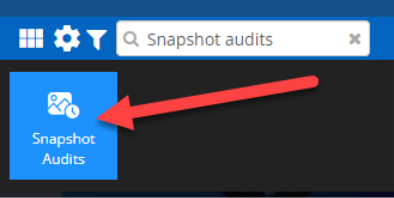
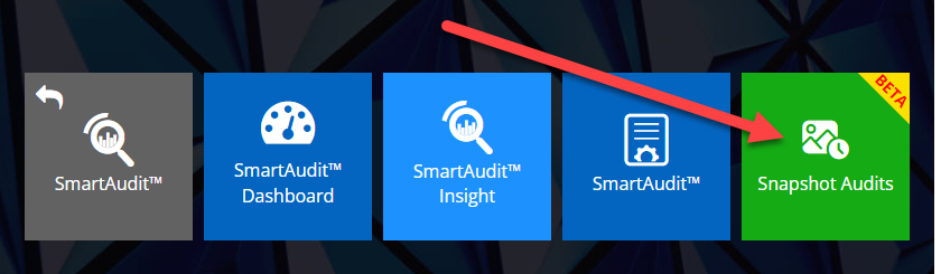
- Click the Snapshot Audits tile.
Snapshot Audits Overview
Inside the Snapshot Audits dashboard, you will see all Configured audits as well as their processing statuses.
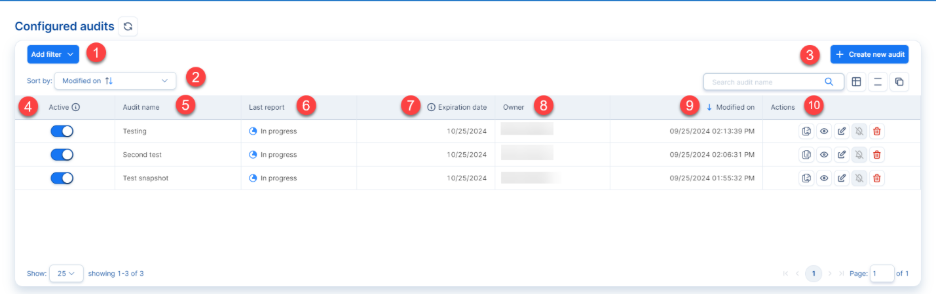
The breakdown is as follows:
- Add filter: Filter the table using Location.
- Sort by: Allows you to change the table’s sorting.
- Create new audit: Click this button to generate a new Snapshot Audit.
- Active status: Flip the toggle to enable/disable the configuration.
- Audit name: The name of the audit.
- Last report: The processing status of the audit report.
- Expiration date: Indicates the day until which reports will be generated and delivered.
- Owner: The creator of the Snapshot Audit.
- Modified on: The date on which the Snapshot Audit was created/configured.
- Actions: In the Actions column, you can take the following actions:
- Go to reports
- Quick view
- Edit
- Toggle notifications on/off
- Delete
How to Create a New Snapshot Audit
To create and configure a new Snapshot Audit:
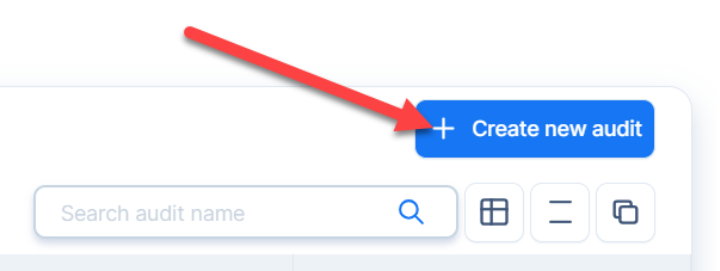
- In the top-right corner of the screen, click the blue + Create new audit button.
- You will then be redirected to the Snapshot Audit configuration tool. Start by selecting your preferred Location from the list. You may only select one location for the audit. Next, pick which cameras you would like to focus on, and click Add Selected.
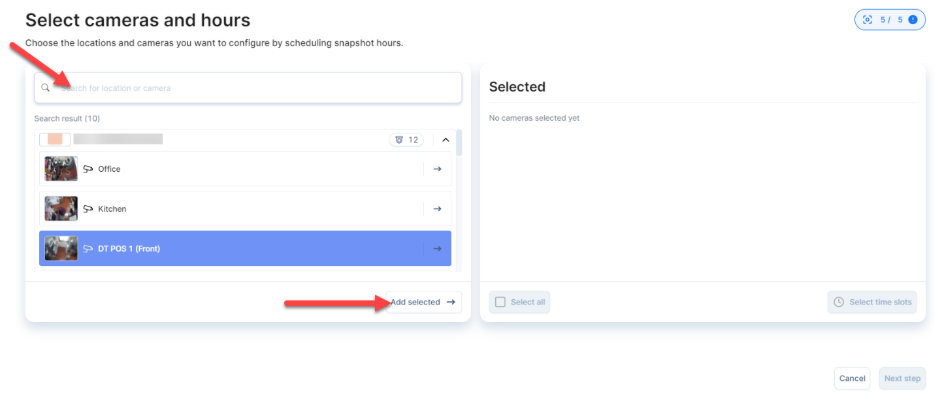
- Your location and selected cameras will appear on the right side of the screen, under the Selected heading.
- Note: With the Free plan, you can configure up to 5 snapshots per configuration, as shown by the number in the top right corner of the screen.
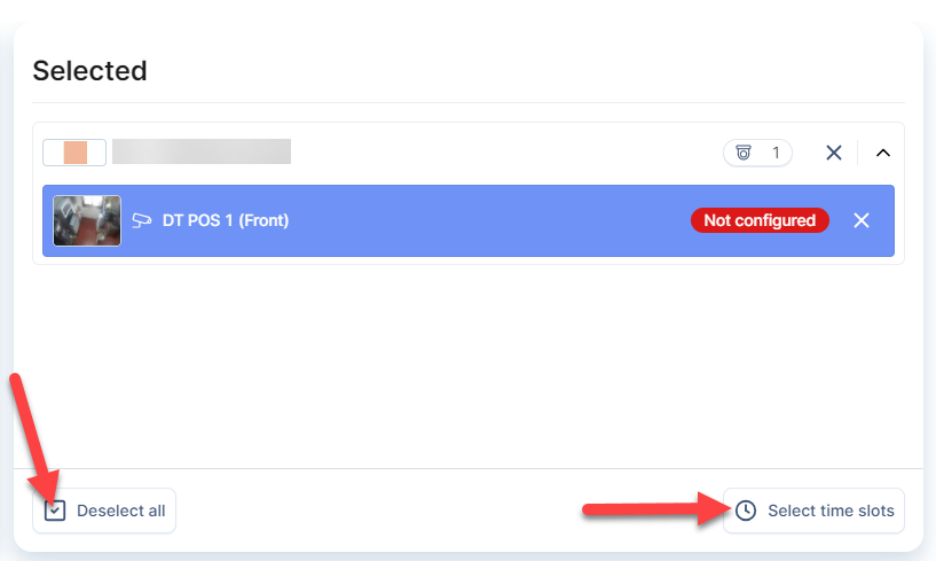
- Under the Selected heading, review your camera selections. Any cameras that need to be configured will feature a red Not configured flag beside them. To proceed with scheduling snapshot hours, you will need to configure these cameras.

- Click on the cameras you want to configure individually or check the Select all box to configure them all at once. Then, click Select time slots.
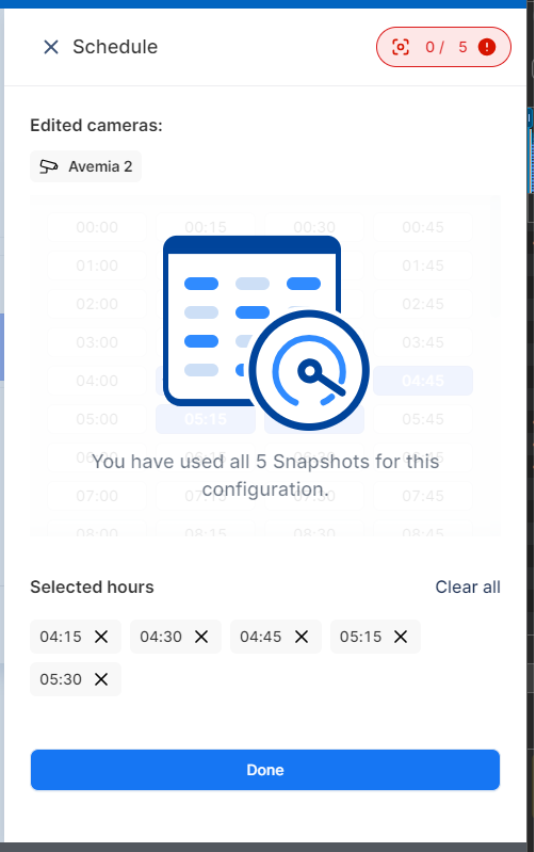
- A new window will pop up. Here, you can view your snapshot Schedule, along with your Edited cameras. Below, you will see a table of times to choose from. Once you have made your selections, they will appear at the bottom of the screen under Selected hours.

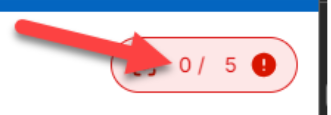
- Note: If you exceed your snapshot limit, you will receive this message shown below. To correct this issue, scroll down to Selected hours and click the X to remove some hour options.
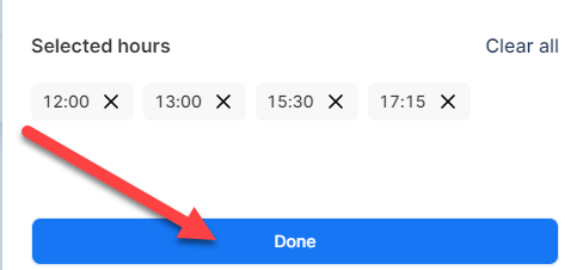
- Review your selections. Then, scroll down to the bottom of the page, and click Done to create the request.
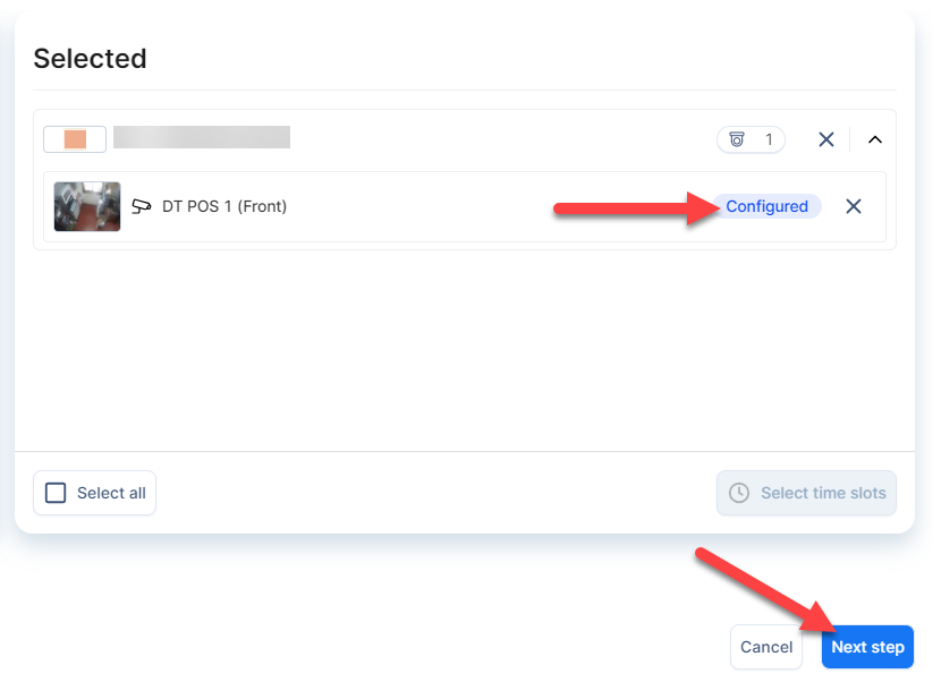
- The menu will close. Next, click the Next step button. If the button is grayed out, you have not completed the configuration process and still need to set up your schedule.
- Note: If configured correctly, each camera will have a blue Configured status banner beside it.
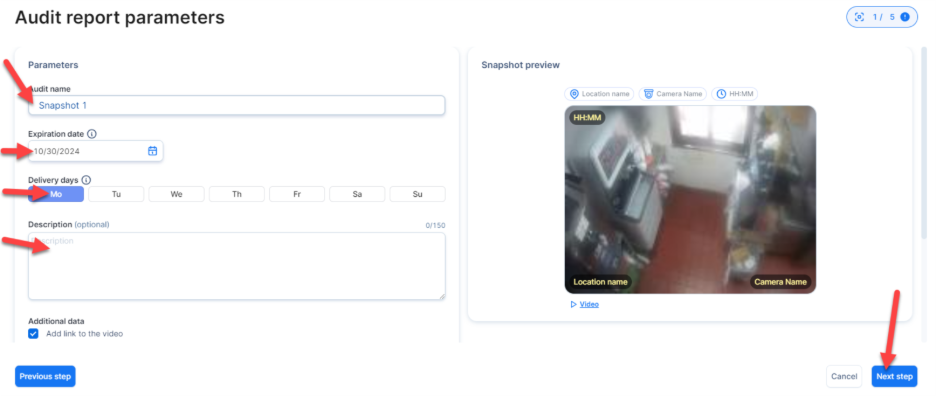
- In the next section, you will determine your Audit report parameters.
- Add the Audit name.
- Add the Expiration date.
- Choose your Delivery day.
- (Optional) Add a Description.
- Fill out the Additional data section. Check or uncheck the Add link to the video and/or Add link to transactions report to suit your preferences.
- Preview your selection on the right-hand side, then click Next step. If this button is grayed out, it means you have configured a parameter incorrectly. Once all parameters have been configured, click the blue Next step button to proceed.
- On the Summary page, confirm that everything looks correct. Click Finish configuration to complete the process.

- When you return to the main Snapshot Audit page, you should see your new request, along with its processing status. Once your snapshots finish processing, you can take further Actions via the column on the far right of the table.
- Note: Once your snapshots are ready to view, you should receive the following email:
- Click the Open report button to then view your completed Snapshot Audit Report.
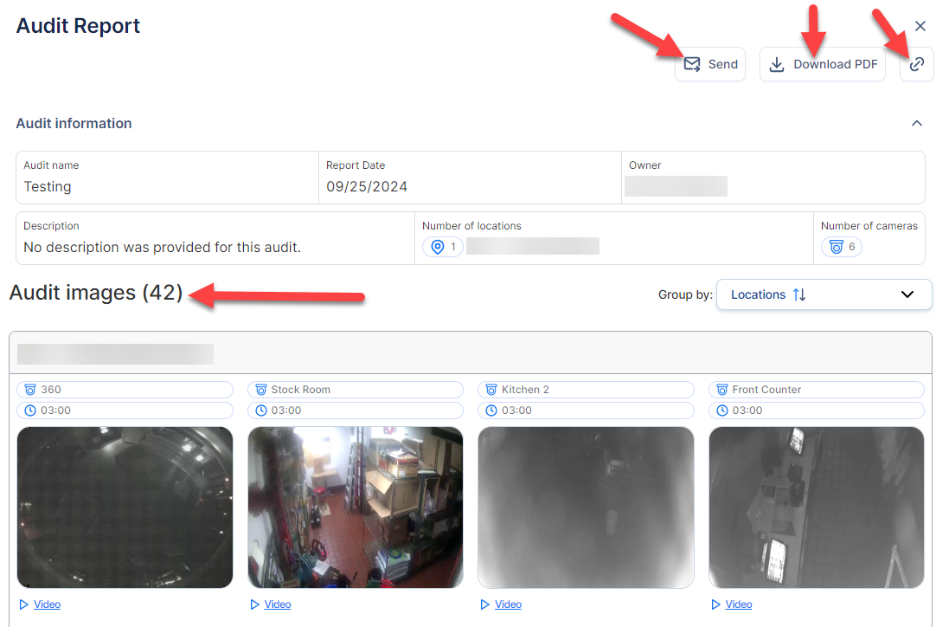
- The report will open in another window in your web browser.

- In this detailed Audit Report, you can view the Audit images, Send them via email, Download them as a PDF, or copy the Link to your clipboard.
For additional information or questions, please contact DTiQ Support at support@dtiq.com or your Customer Experience Team at csr@dtiq.com.