Note: DTiQ’s Transactions Report feature requires an active POS Data Subscription.
Content
This guide will provide insight into the following:
- How to Access the Transactions Report
- How to Navigate the Transactions Report
- Show Register Actions
- Neighboring Transactions (+/- 5 Trans., +/- ALL)
How to Access the Transactions Report
To access the Transactions Report, click the Reports tile, then click Transactions.

Note: For a more comprehensive breakdown of Suspicious Transactions, check out the Suspicious Transactions Report.
How to Navigate the Transactions Report
In the Transactions Report, you can see the following information for each location:
- Location
- Date
- Revenue
- Register
- Employee
- Type
- Number
- Gross
- Net
- Tax
- Discount
- Cash
- Credit
- Third party
- Check
- Other
- Deleted
- Comment

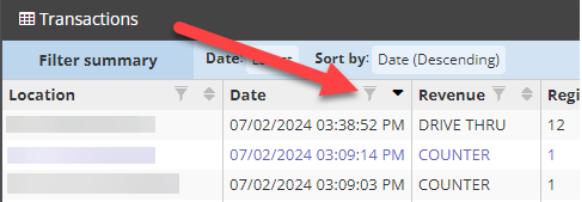
To open the filter on the Date column, click the Filter icon.
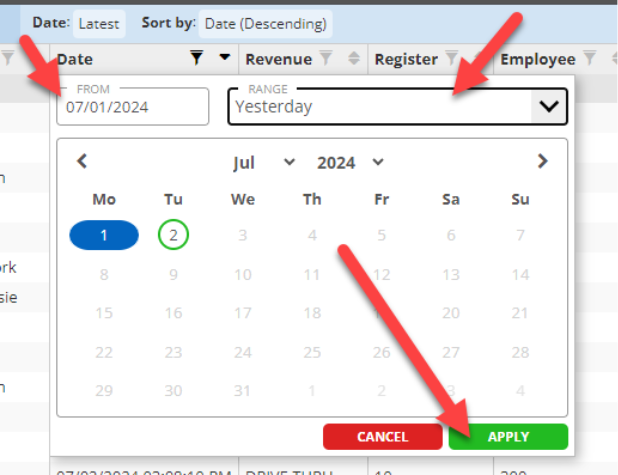
A box will pop up. Choose your desired date, then click APPLY.
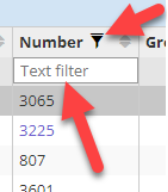
You can also search for a transaction number by clicking the Filter icon in the Number column, then entering the transaction number.
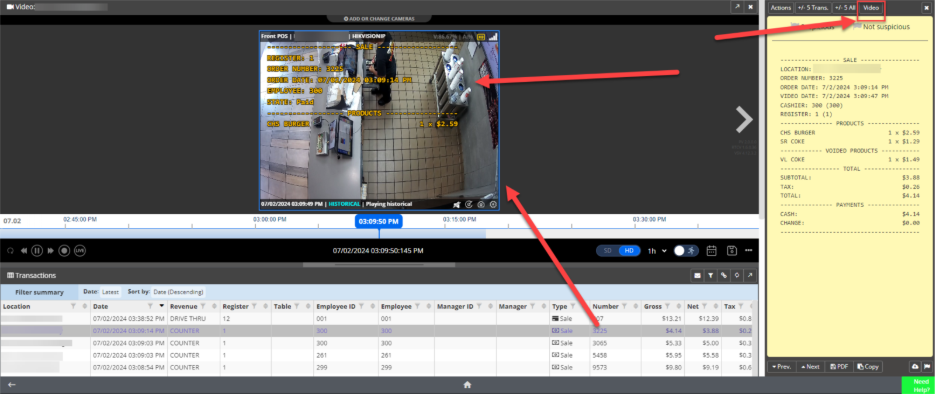
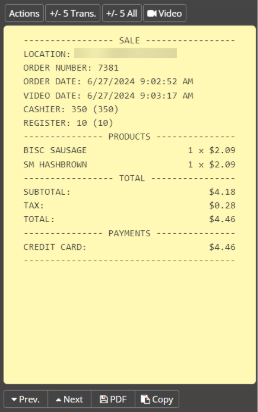
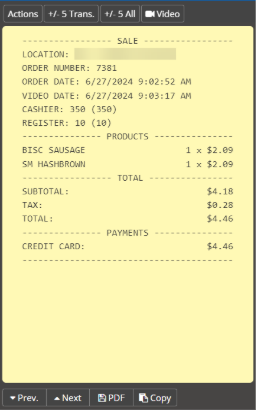
To view the details for a particular transaction, click anywhere on the line of the transaction. The digital receipt for the transaction will pop up on the right side of the screen. In this receipt, you will see data such as the name of the Location, ORDER #, PRODUCTS, TOTAL, and PAYMENT, to name a few.
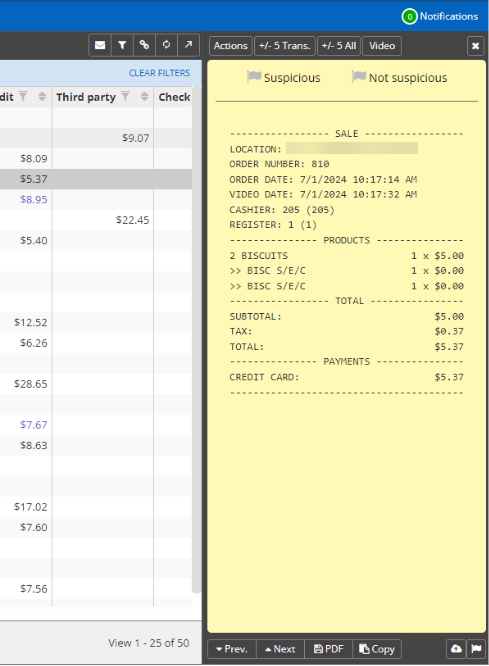
You can also view video footage of the transaction by clicking the Video button on the digital receipt.
Show Register Actions
Note: The Register Actions feature is only available for certain POS integrations.
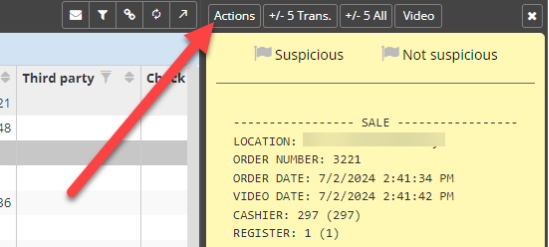
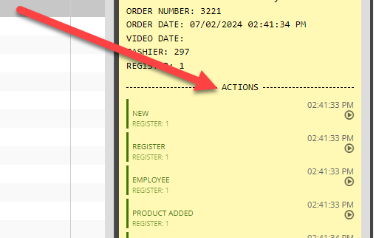
Click the Actions button, located in the upper left-hand corner of the digital receipt, to see a transaction breakdown by action performed at the point-of-sale register. This feature can save you time when reviewing video of a transaction by allowing you to go directly to the moment of payment.
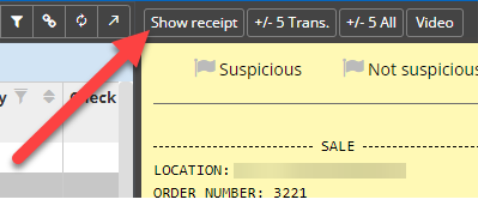
Click the Show receipt button to go back to the digital receipt.
While viewing the digital receipt, you can also click the following buttons:
- Actions to view Register Actions (if applicable)
- +/- 5 Trans. to view the previous and next 5 transactions
- +/- All to view all previous or next transactions
- Video to view camera footage of the transaction
- Prev. to view the previous transaction
- Next to view the next transaction
- PDF to download a PDF of the digital receipt
- Copy to share the digital receipt

Neighboring Transactions (+/- 5 Trans, +/- 5 ALL)
When reviewing transactions, you can easily find what happened before and after the transaction by clicking the +/- 5 Trans. button located on the upper right-hand side of the digital receipt (next to the Actions/Show receipt button). Once selected, you will see 5 transactions that occurred before the selected transaction and up to 5 transactions that occurred after the selected transaction on that register.
The +/- 5 All button helps to review transactions from all registers. Once selected, you will see 5 transactions that occurred before the selected transaction and up to 5 transactions that occurred after the chosen transaction from all registers.
For additional information or questions please contact DTiQ Support at support@dtiq.com or your Customer Success Manager at csr@dtiq.com.